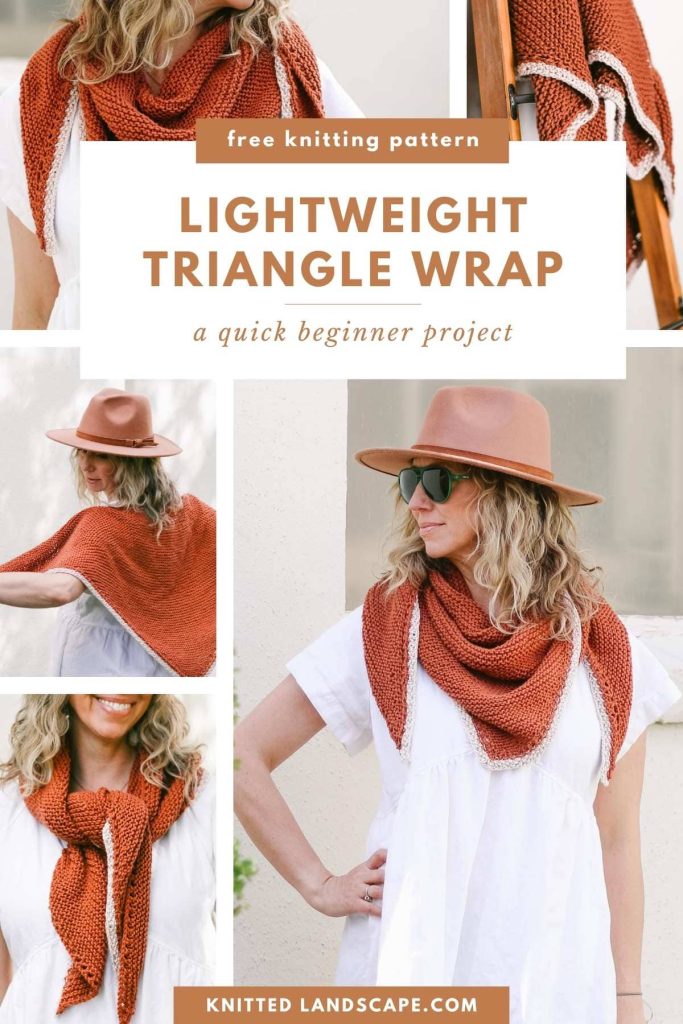
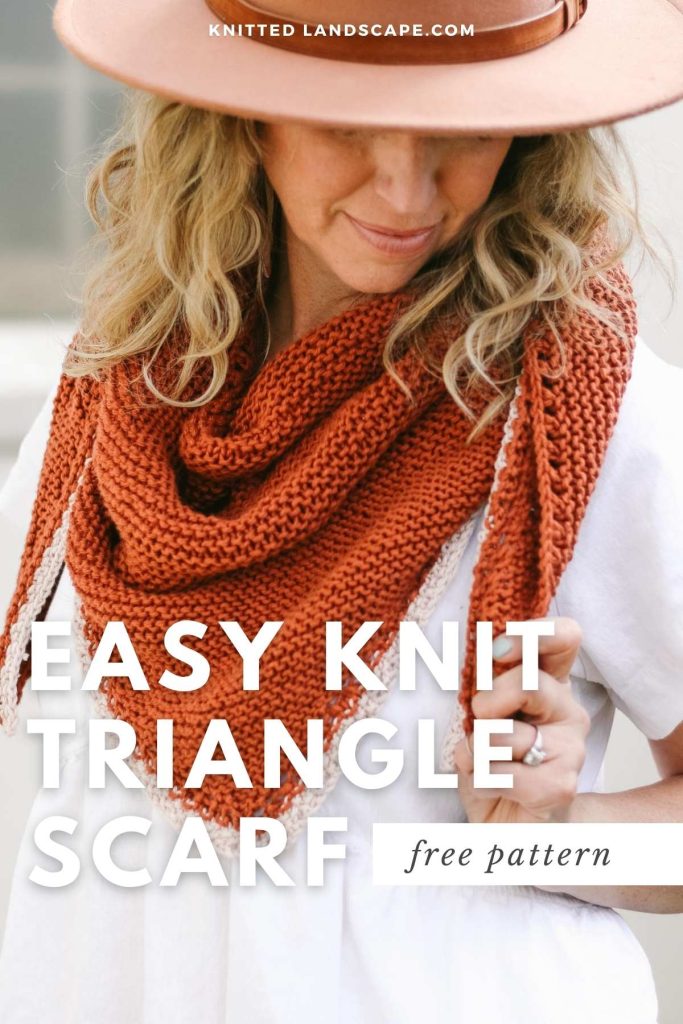
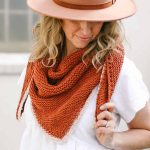
How to Knit a Triangular Scarf – Free Knitting Pattern
This free triangular scarf knitting pattern is perfect for beginner knitters who want to make their own four season accessory. We’ll practice basic increases as we learn how to knit a triangle scarf.
The free triangle scarf pattern is below or purchase the ad-free, printable PDF here.
This knit triangle scarf pattern is part of a collaboration with Lion Brand
Intro to This Triangular Scarf Knitting Pattern
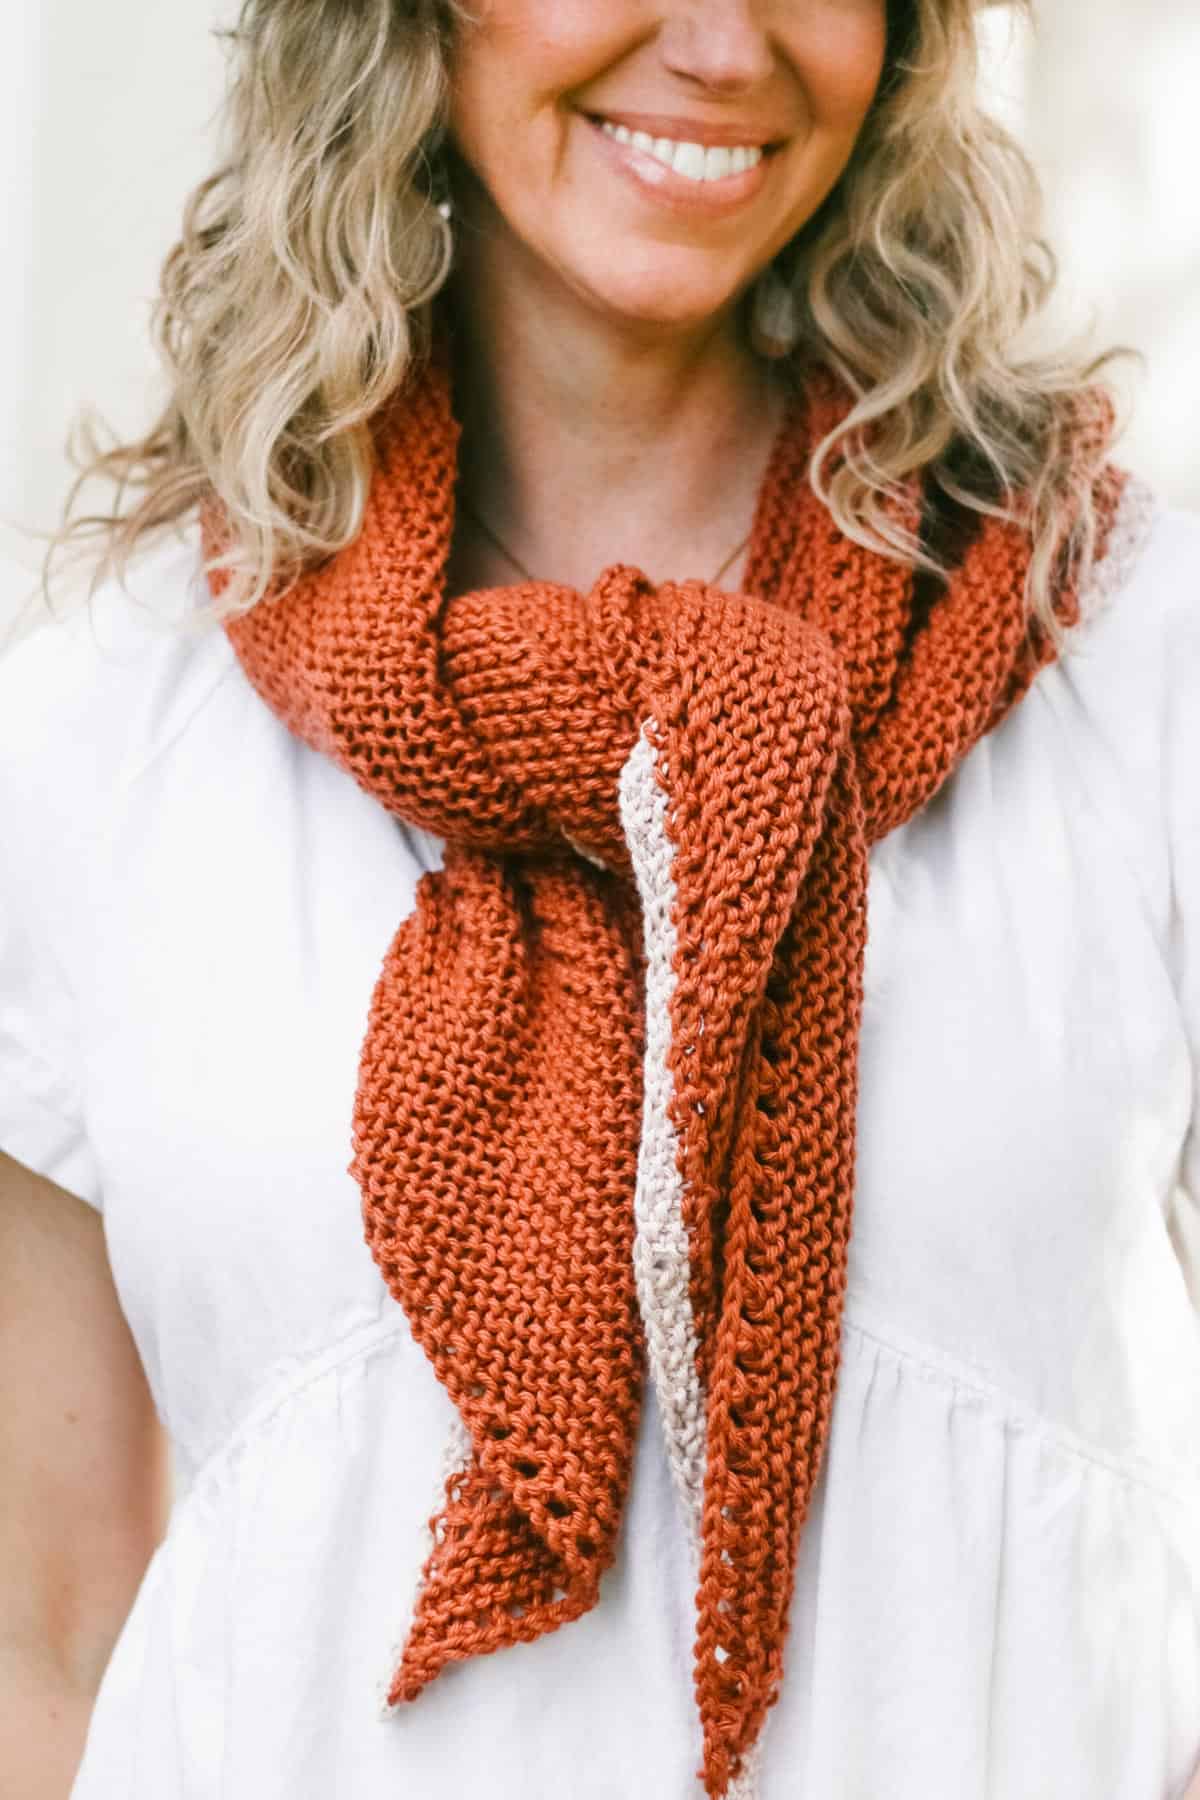
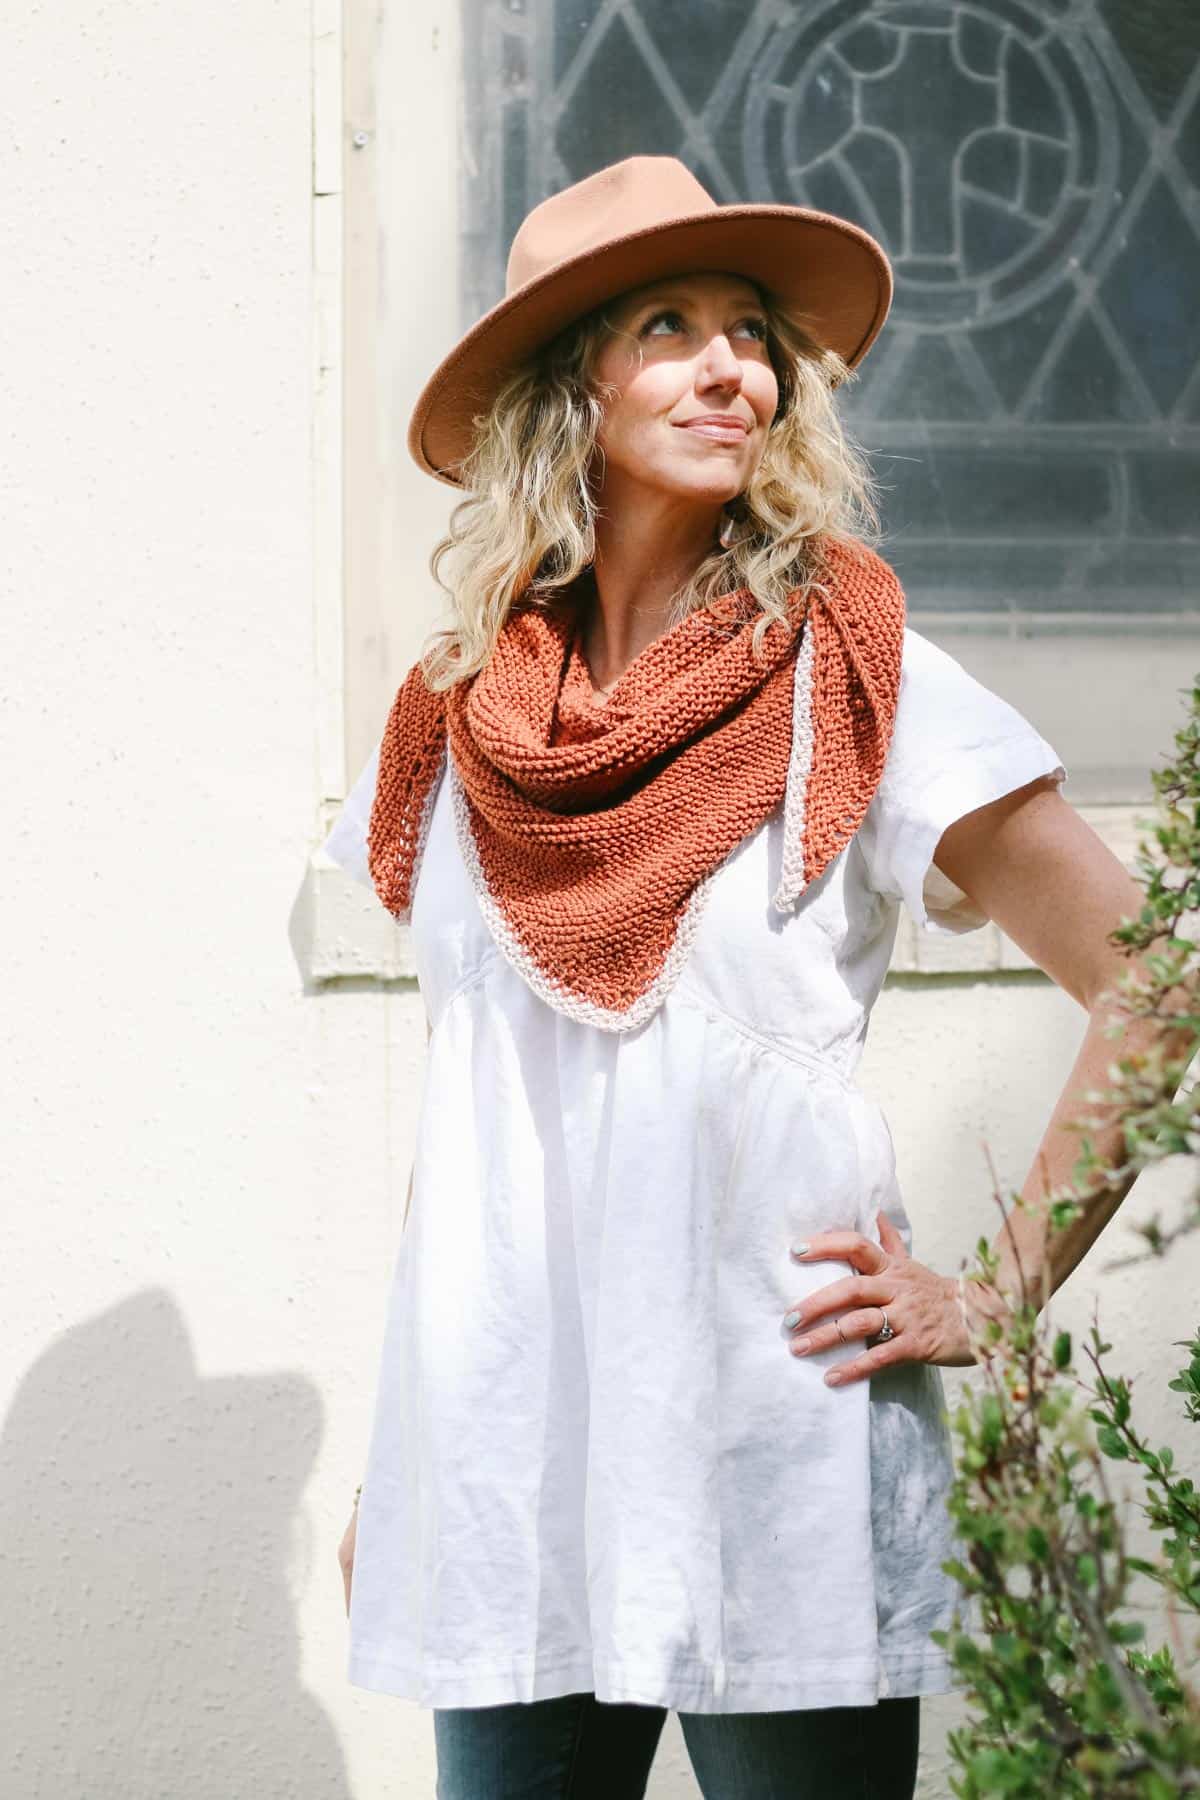
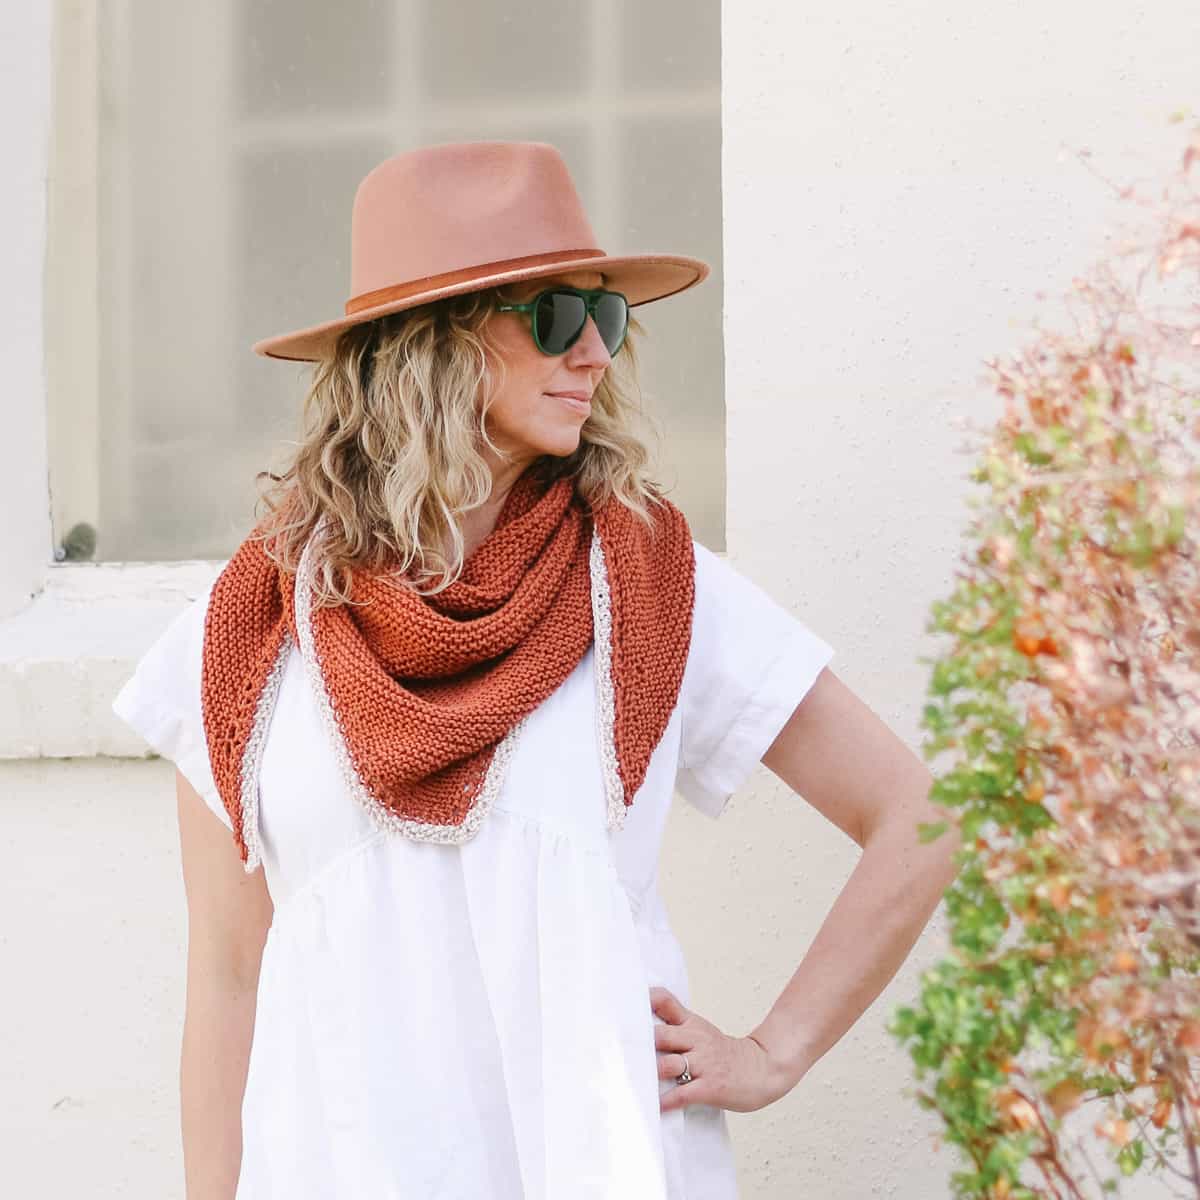
Whether you’re just getting started with knitting or need a simple meditative project for your needles, this triangular scarf knitting pattern will be your new favorite accessory.
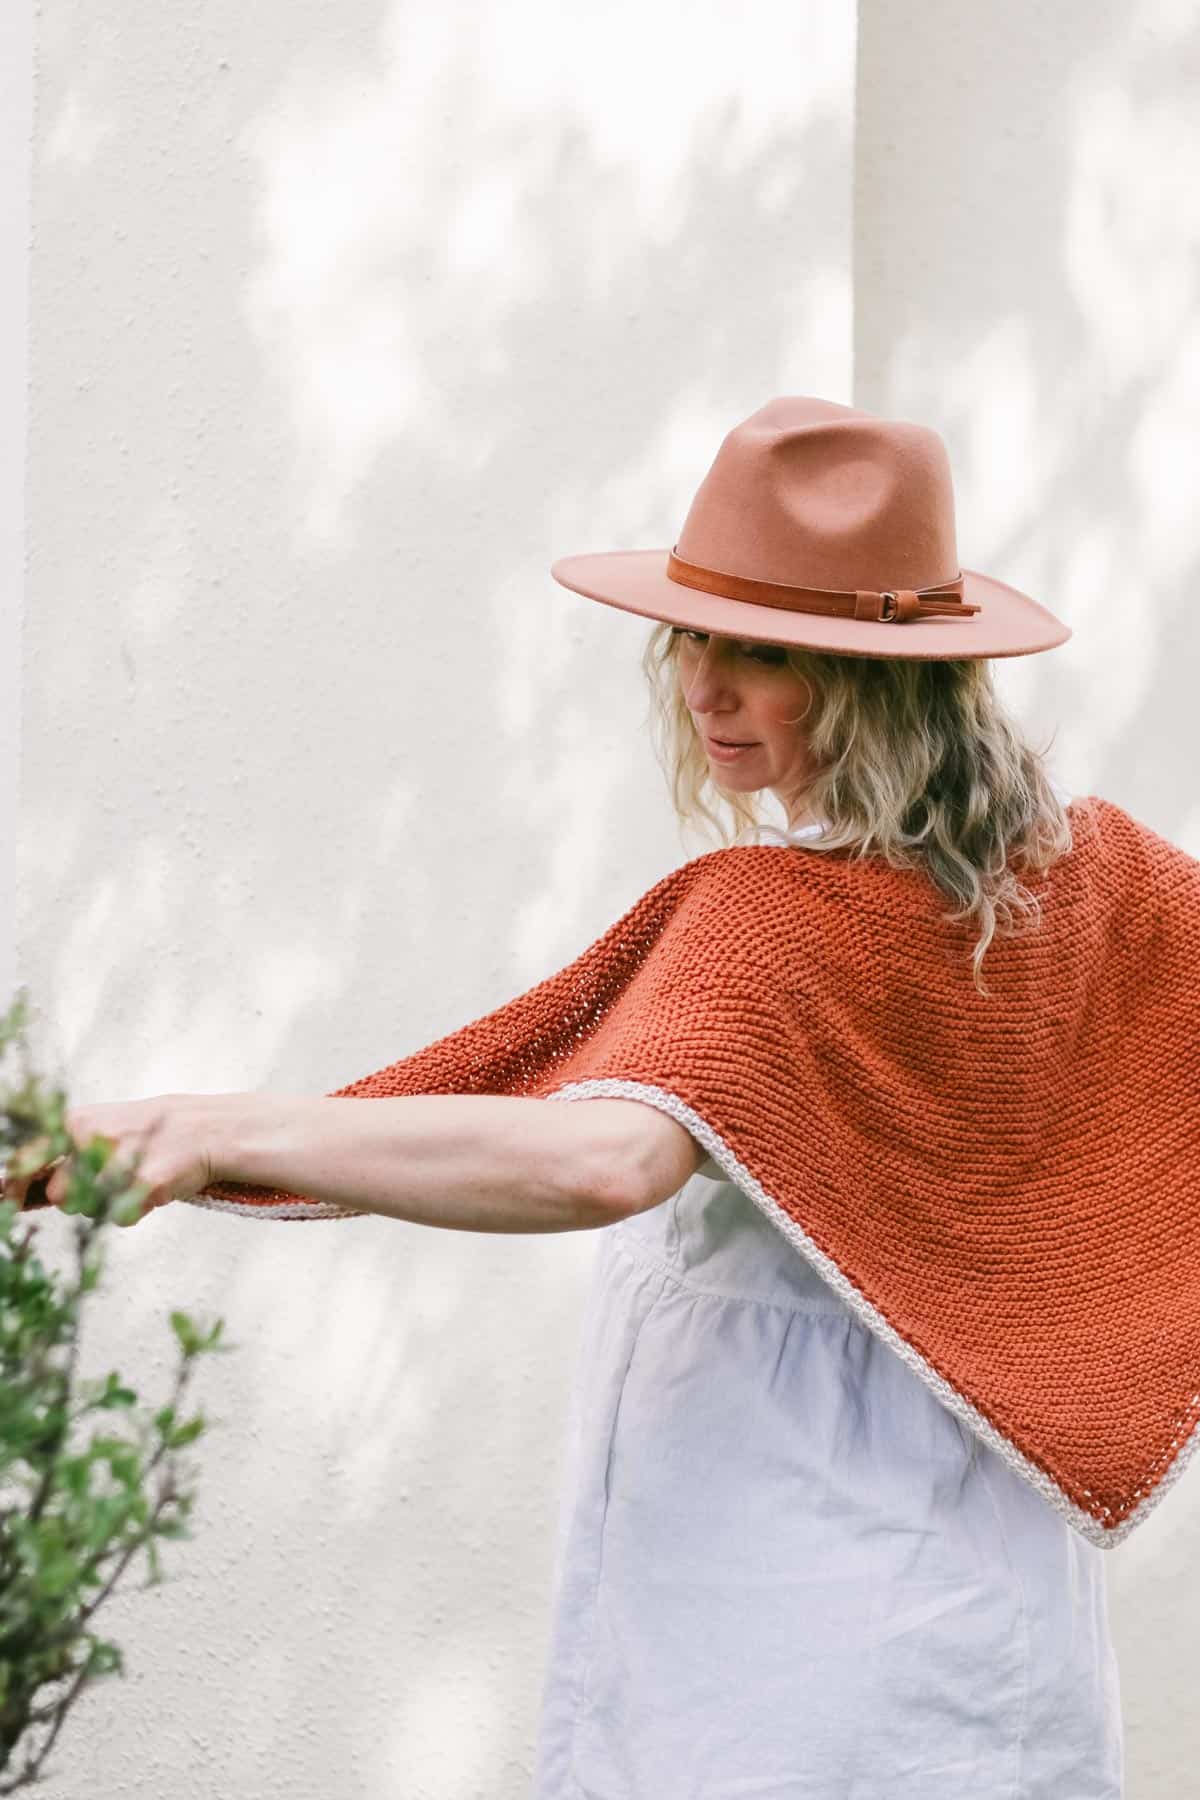
Made with breathable cotton yarn, this easy scarf project can be enjoyed year-round. Try substituting a chunkier yarn for a larger, warmer scarf.
Keep reading for more yarn and inspiration details or jump down to the free pattern.
Skills You’ll Practice
The knitting skills you’ll use in this pattern include:
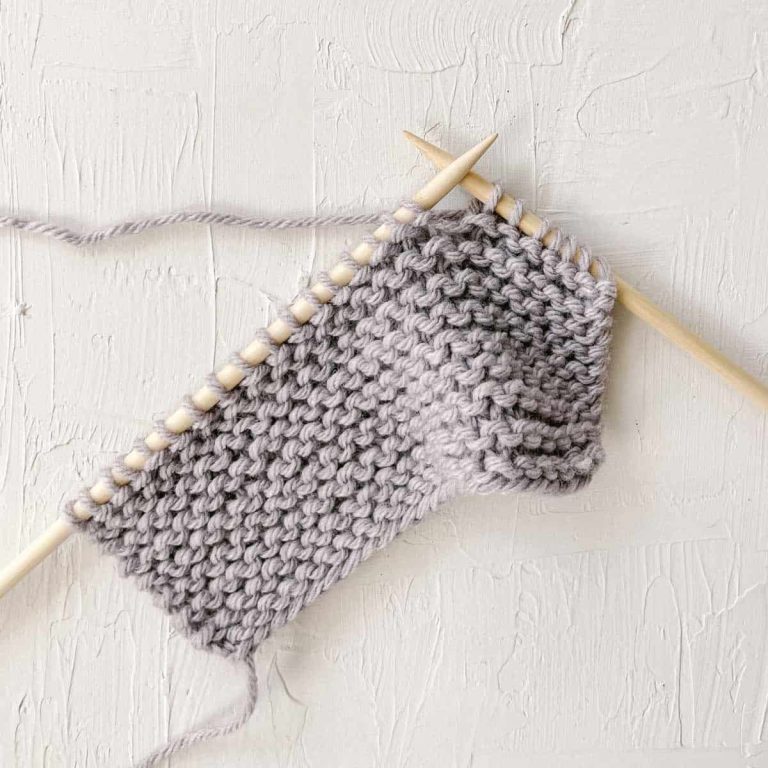
- Garter stitch
- Increasing
- Picking up stitches for the border
- Casting off
Beginner Tip: Skip the contrasting border to make this scarf extra easy for if you’re a new knitter.
Why you’ll love this beginner triangle scarf!
All-in-One Knitting Kit
If you don’t live near amazing yarn stores or if you just like to get fun packages on your doorstep, the all-in-one kit is a perfect way to knit your Just Getting Started Triangle Scarf.
This bundle from Lion Brand includes all the Pima Cotton you’ll need, plus a bonus printable PDF of the pattern (delivered digitally).

Print this Pattern
Prefer to knit on the couch? (Me too!) Need a portable, printable pattern? You’ll love the premium PDF! The instantly downloadable, ad-free file is formatted for easy printing and includes the complete pattern and several photos.
Upgrade to the Printable PDF
formatted for effortless printing and relaxing couch crocheting
Just Getting Started Triangle Scarf – Free Pattern
Supplies + Materials
Order an all-in-one kit from Lion Brand here.
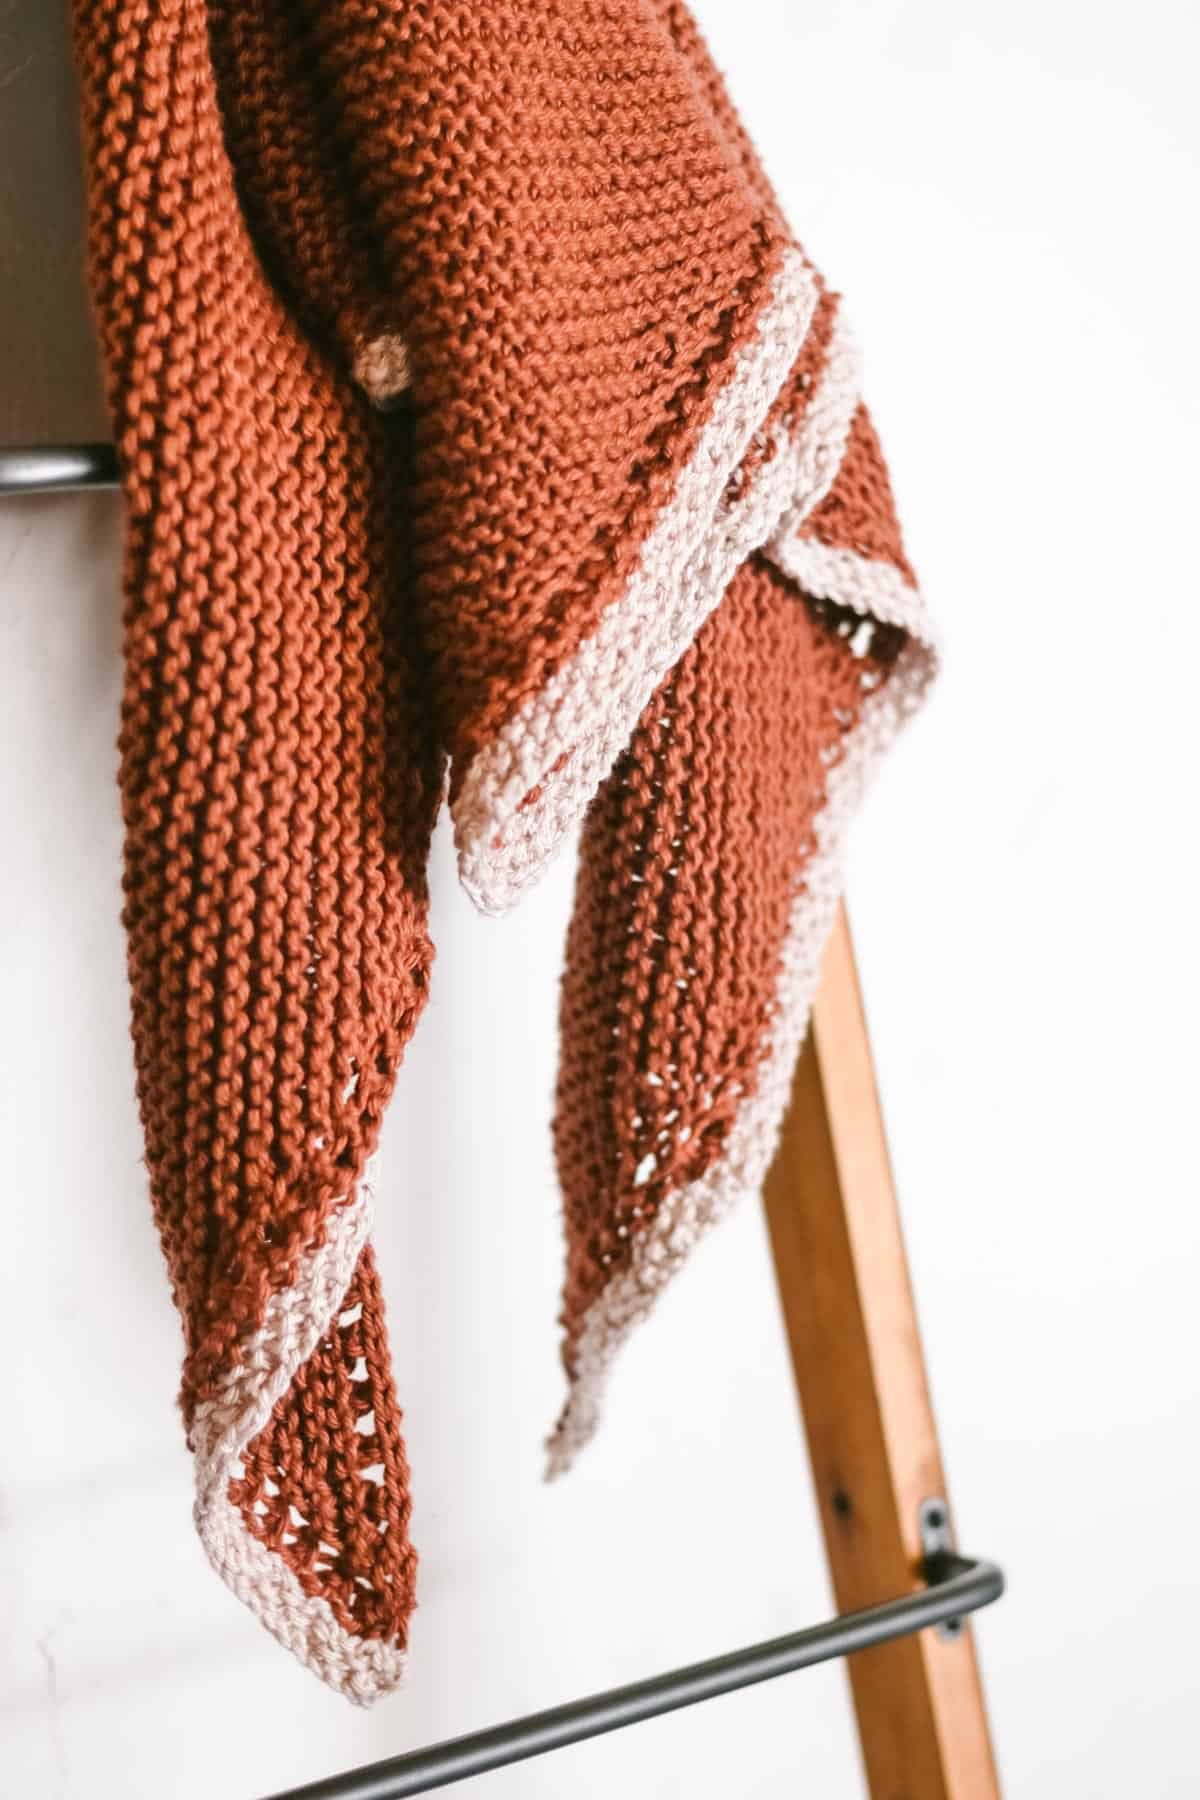
• Lion Brand Pima Cotton (Weight: 4/medium ) – 186 yds, 3.5 oz/100 g)
- Color A – Spice (762/135) – 3 skeins [(approx. 270) g)]
- Color B – Mademoiselle (762/184P) – 1 skein [(approx. 70 g)]
• Tapestry needle to weave in ends
• Size 10 (6.0 mm) 29-32 inch circular knitting needles or size to obtain gauge
• Size 8 (5.0 mm) 16-32 inch circular knitting needles or or 2 sizes smaller than larger circular needles
• Steamer or iron with steam function for blocking (alternative: use a spray bottle)
• T-pins, blocking combs and blocking board (optional)
Gauge
15 sts x 26 rows = 4” as worked in main triangle stitch pattern using larger needles
Abbreviations + Glossary
CO – cast on
k– knit stitch
K2tog – knit 2 together
KFB – Knit front and back in same st
M1L – make 1 left
M1R – make 1 right
p – purl stitch
PM – place marker
rep – repeat
RS – right side
sk – skip
st(s) – stitch(es)
tog – together
WS – wrong side
yo – yarn over
Special Stitches
If M1L and M1R increases are new to you, this is a helpful video tutorial that teaches this simple technique. Note that in this video, the increases are taking place in the middle of the row. In the triangular scarf pattern below, we’re increasing toward the beginning and end of each row.
Permissions + Copyright:
Please do not publish or share this pattern as your own. You may make items to sell with this pattern. In exchange, please link back this post. Do NOT use our photos as your own sales photos.
Overall Pattern Notes
- Scarf is knit from the bottom triangle point. Increases are made every odd-number row. Every even-numbered row is knit without increasing.
- Since this is made with a reversible knit stitch, there is no true right or wrong side. The labels for each row are there only to help you keep track of increases, but the final triangle scarf is reversible.
- Some increase rows add two stitches and some add four stitches, so the increase stitches are worked in two ways:
- Yarn over (yo) on each end will result in 2 more sts per row.
- Knit front and back (KFB) means that you knit in the front and back of the same stitch. Combining a yo and KFB in the same row will result in 4 more sts per row.
- Gauge is not critical for this scarf, but meeting the pattern gauge will help ensure your project turns out the expected size and uses the listed amount of yarn. If you’d like to skip the gauge swatch, just measure your work-in-progress scarf after about Row 30 and compare your stitch measurements to the gauge listed above.
- Tip for beginners: If you’re new to knitting, you may skip the scarf border or add a simple crochet border instead. Check our our favorite crochet border stitches for ideas.
Premium PDF
easier and faster with fewer mistakes.
- Complete pattern + photos
- Instant download
- Formatted for easy printing
Knitting Main Triangle
With color A and larger needles:
Foundation Row: CO 3 sts.
Row 1 (WS inc): K1, yo, k1, yo, k1. (5 sts)
Row 2 (RS): K all sts.
Row 3 (WS inc): K1, yo, k3, yo, k1. (7 sts)
Row 4 (RS): Knit all sts.
Row 5 (WS inc): K1, yo, k5, yo, k1. (9 sts)
Row 6 (RS): K all sts.
Row 7 (WS inc): K1, yo, k7, yo, k1. (11 sts)
Row 8 (RS): K all sts.
Row 9 (WS inc): K1, yo, k across until one st remains, yo, k1. (13 sts)
Row 10 (RS): K all sts.
Row 11 (WS inc): K1, yo, k1, KFB, k across until three sts remain, KFB, k1, yo, k1. (17 sts) (Note, this row increases by 2 more stitches than the previous increase rows.)
Row 12 (RS): K all sts.
Repeat Rows 9-12 thirty more times. Scarf should now include 130 total rows and 193 sts in the last row. (If your stitch count is a bit off here because you missed an increase here or there, it may not be an issue. If you’re happy with the edges of your scarf, the stitch count being slightly off won’t make a significant difference.)
To knit a larger shawl or wrap, continue in this pattern until you’re happy with the size.
Print This Pattern: purchase the ad-free, printable PDF
Row 131 (WS inc): K1, yo, k1, KFB, k until three sts remain, KFB, k1, yo, k1. (197 sts)
Row 132 (RS): K all sts.
Repeat Rows 131 and 132 six more times. Triangle scarf should now include a total of 142 total rows and 217 sts in the last row.
The next row adds a pretty eyelet edge to the top (longest edge) of the triangle scarf.
Row 143 (WS): K1, *(yo, k2tog), rep from * across to last 2 sts, yo, k1, yo, k1.
Row 144 (RS): Loosely bind off all sts. Keep yarn attached.
Notes:
- Seed stitch border picks up one stitch per raw row edge along both
diagonal (shorter) sides of the triangle. Increases are made at the
triangle center point. (See photo below.) - To pick up the stitches for the Foundation Row, you’ll insert your needle
knitwise into the raw row edge and pick up a loop to create a stitch on
the needle. - The border stitch count isn’t critical as long as the scarf edges are
smooth and lacking bumps or bulges.

How to Pick up Stitches
This video tutorial from Purl Soho explains how to pick up stitches along the edge. Note that the frequency of stitches in this video is different than the instructions below. (We’re picking up one stitch per row.)
To Begin:
At the bottom of the triangle point, place a marker on either side of the center st of the first row. This will ensure an even number of sts of each side of the triangle and that increases are made in the center (marked) stitch. Move marker up as each border row is worked.
With smaller needle and attached yarn, hold scarf so the WS is facing you.
Foundation Row (WS):
Step 1: Pick up 144 sts along first diagonal side of triangle…
Step 2: Pick up 3 sts in the marked center st…
Step 3: Pick up 144 sts along opposite diagonal side of triangle. (291 sts)
Fasten off color A.
With Color B and smaller needles:
Row 1 (RS inc): K1, *p1, k1, rep from * to first marker, slip marker, M1R, (p, k, p) in center st, M1L, slip marker, *p1, k1, rep from * to last st. (296 sts)
Row 2 (WS): *P1, k1, rep from * to end of row.
Row 3 (RS inc): KFB, *p1, k1, rep from * to first marker, slip marker, k1, p, (k,p,k) in center st, p1, k1, slip marker *p1,k1, rep from * to last st, KFB in last st. (300 sts)
Row 4 (WS): *K1, p1, rep from * to end of row.
Row 5 (RS): Bind off the knit stitches knitwise and the purl stitches purl wise. Fasten off and weave in ends.
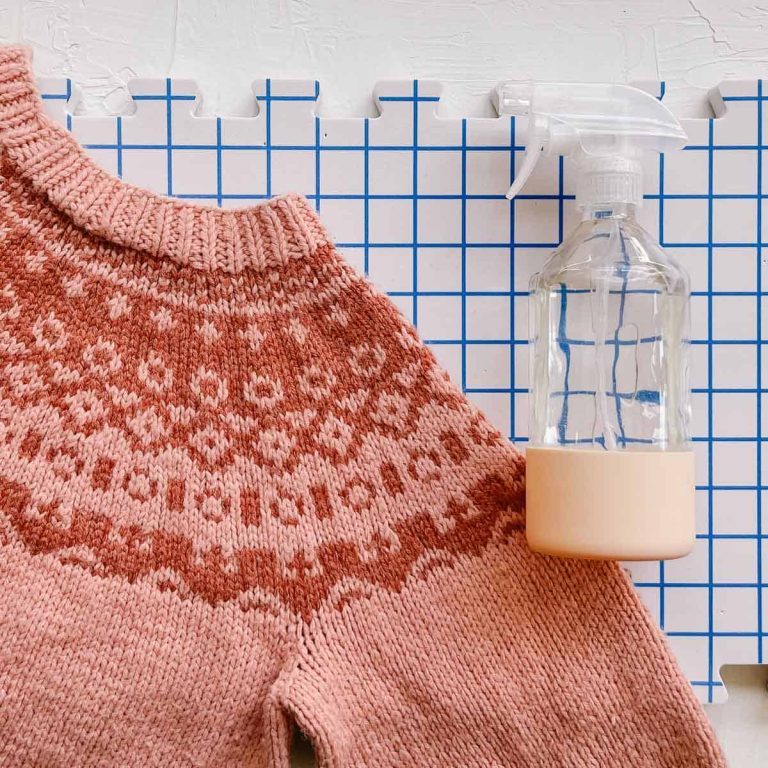
Blocking
For the best appearance, lightly steam or spray block your finished triangle scarf. Learn all about blocking your knitting projects in this tutorial.
Now that your Just Getting Started Scarf is just getting finished, it’s time to choose your next knitting project!
How to Knit a Triangular Scarf
Equipment
- CO – cast on
- k– knit stitch
- K2tog – knit 2 together
- KFB – Knit front and back in same st
- M1L – make 1 left
- M1R – make 1 right
- p – purl stitch
- PM – place marker
- rep – repeat
- RS – right side
- sk – skip
- st(s) – stitch(es)
- tog – together
- WS – wrong side
- yo – yarn over
Materials
Yarn
- Lion Brand Pima Cotton Weight: 4/medium – 186 yds, 3.5 oz/100 g)
- Color A – Spice 762/135 – 3 skeins [(approx. 270) g)]
- Color B – Mademoiselle 762/184P – 1 skein [(approx. 70 g)]
Additional Supplies
- Tapestry needle to weave in ends
- Size 10 6.0 mm 29-32 inch circular knitting needles or size to obtain gauge
- Size 8 5.0 mm 16-32 inch circular knitting needles or or 2 sizes smaller than larger circular needles
- 2 stitch markers
- Steamer or iron with steam function for blocking alternative: use a spray bottle
- T-pins blocking combs and blocking board (optional)
Instructions
How to Knit a Triangle Scarf Overview
- Cast on 3 stitches.
- Even rows: Knit all the stitches in the row.
- Odd rows: Increase at the beginning and end of each row. These rows alternate by adding two stitches and then four stitches each time.
- Continue in this pattern until desired triangle scarf sized is reached.
- (Optional) Work a row of eyelets to create a pretty decorative edge at top if triangle.
- Cast off all stitches.
- (Optional): To add a border to the two shorter triangle sides, pick up stitches along each side.
- Knit in seed stitch until 5 rows are complete.
- Bind off and weave in ends.
- Lightly block your knit triangle scarf to smooth out the stitches and create straight edges.
Notes
- Scarf is knit from the bottom triangle point. Increases are made every odd-number row. Every even-numbered row is knit without increasing.
- Since this is made with a reversible knit stitch, there is no true right or wrong side. The labels for each row are there only to help you keep track of increases, but the final triangle scarf is reversible.
- Some increase rows add two stitches and some add four stitches, so the increase stitches are worked in two ways:
- Yarn over (yo) on each end will result in 2 more sts per row.
- Knit front and back (KFB) means that you knit in the front and back of the same stitch. Combining a yo and KFB in the same row will result in 4 more sts per row.
- Gauge is not critical for this scarf, but meeting the pattern gauge will help ensure your project turns out the expected size and uses the listed amount of yarn. If you’d like to skip the gauge swatch, just measure your work-in-progress scarf after about Row 30 and compare your stitch measurements to the gauge listed above.
- Tip for beginners: If you’re new to knitting, you may skip the scarf border or add a simple crochet border instead. Check our our favorite crochet border stitches for ideas.