How to Knit the Knit Stitch For Beginners + Fix Mistakes
The humble knit stitch (k) is the first step in most knitters’ journeys. Though it’s simple to learn, this stitch is the foundation of many other techniques and is crucial to almost every knit project.
Feel confident in your crafting with this step-by-step knit stitch tutorial and beginner’s guide.
This knit stitch tutorial is part of a collaboration with Lion Brand Yarns. This post contains affiliate links.
All About The Knit Stitch
Let’s start with the basic terminology. The two main individual stitches are knit stitch and purl stitch.
It can be confusing, but “stitch” in knitting can refer to a single stitch or a combination of individual stitches that creates a certain type of fabric.
Reversible knit stitches, for example, are patterns of stitch combos that look good on both the front and back.

Beginner Knitter? Check out our complete guide on how to knit for beginners.
What Does the Knit Stitch Look Like?
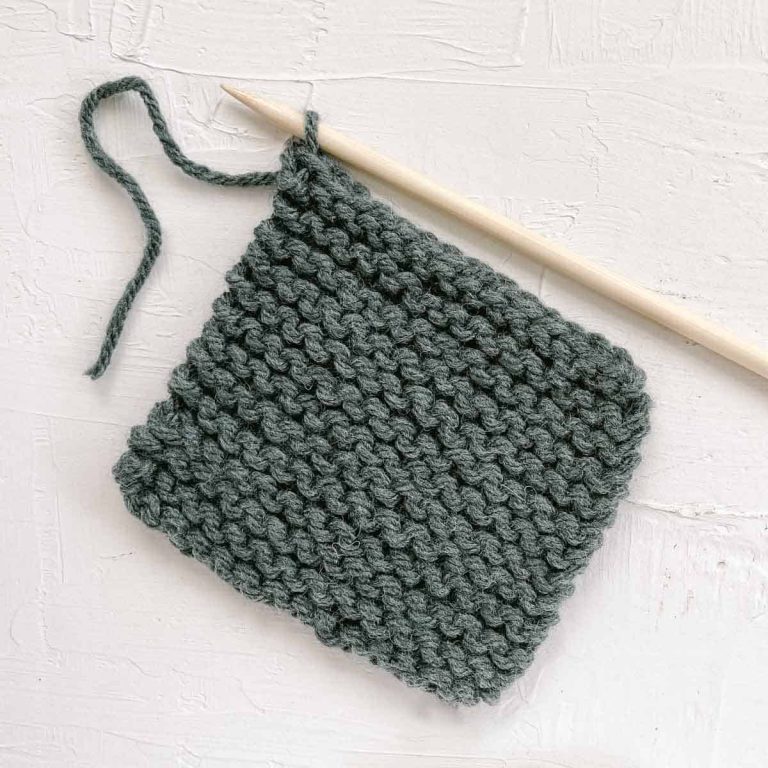
The “knit stitch” refers to making a singular stitch with your yarn. Each individual stitch looks like a “v” underneath your needle. Making rows of singular knit stitches creates garter stitch.
If you’re a crocheter, you’ll notice the knit stitch in knitting looks very similar to the crochet waistcoat stitch.
Reading Knit Stitch in Patterns
Written knitting stitch instructions are called patterns. They act like a recipe to follow, but the abundance of abbreviations used can make them cryptic to knitting newbies.
Look out for these knit stitch abbreviations in your knitting patterns:
- “k” – knit stitch.
- “k2” – make two knit stitches; numbers following “k” refer to how many you should make.
- “k all” – knit every stitch in the row.
Pro Tip: Some patterns will capitalize the “k” and some won’t. In both cases, the “k” stands for the knit stitch.
Preparing for the Knit Stitch
You have now set the foundation for your project and are one step closer to learning how to make a knit stitch! Once you have cast on, take a second to get your equipment in the right position. Then we can start the first row of knit stitch.
Holding Your Knitting Needles
The most important thing when holding knitting needles is that your hands are comfortable when making the motions.
Many knitters like to use a knife grip, with the palm facing down and the hand positioned above the needle. Alternatively, you may prefer a pencil grip. There’s no right or wrong way, so do what works for you.
Holding Yarn
The two most popular styles of knitting, Continental and English, differ from each other in which hand controls the yarn. Lefties can work with either method but may feel more confident beginning with Continental knitting, as their dominant hand controls the yarn.
When working in Continental, also known as German, the yarn is in the left hand. This allows you to ‘pick’ the new stitches rather than ‘throw’ the yarn as you would in English (aka American) style.
In my own knitting practice, I find the Continental style quicker and more convenient, particularly when knitting knit stitches. The Continental method is what I’m demonstrating in this knit stitch photo tutorial.
Much of knitting is down to personal preference, so try out both Continental and English to find your style.
How to Knit the Knit Stitch Tutorial
Let’s learn how to do a knit stitch. I recommend reading these step-by-step instructions all the way through first to avoid any surprises while you work.
The tutorial below assumes you’ve already cast on 12-20 stitches, but I cover how to do that further down the page in case you need a refresher. See this detailed long tail cast tutorial on if you’re new to knitting.
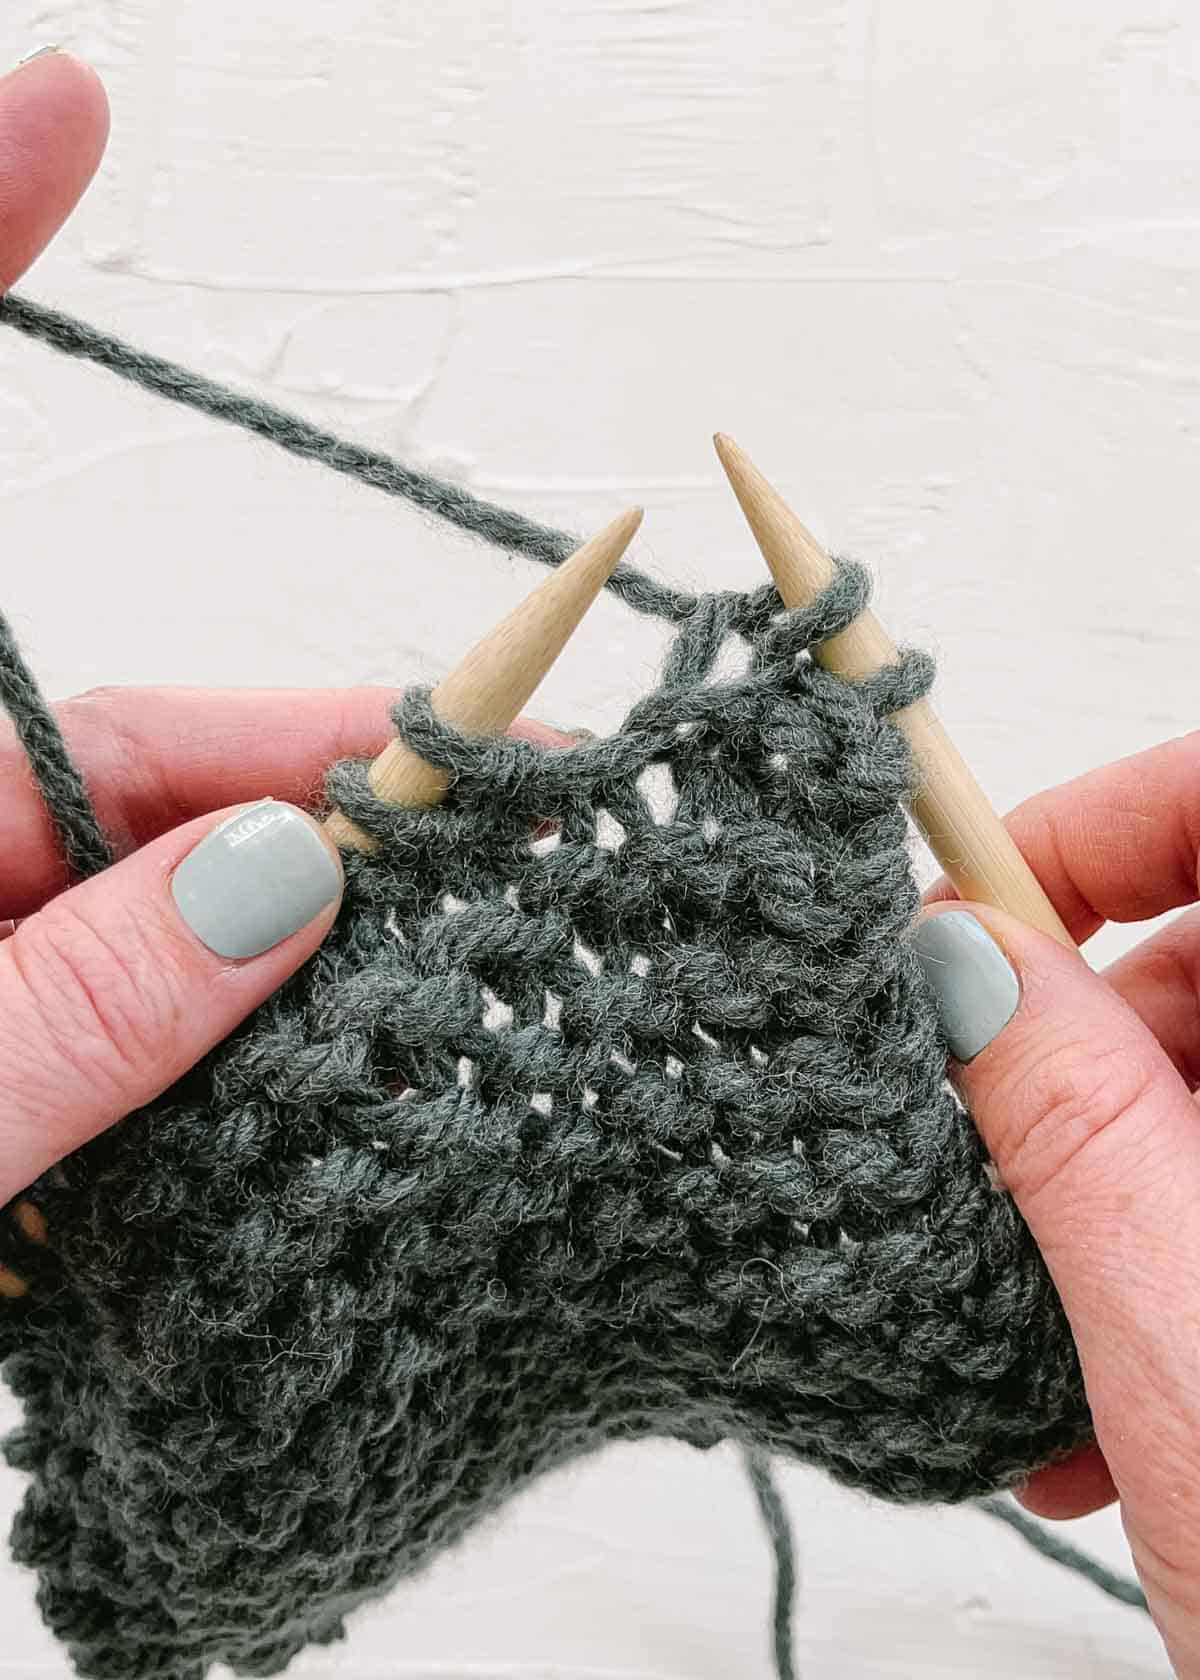
Step 1: Position the Needles and Working Yarn
Hold the empty needle in your right hand and the needle with stitches in your left. Position the working yarn by draping it over your left index finger. This finger can help you adjust the tension of your working yarn as you knit.

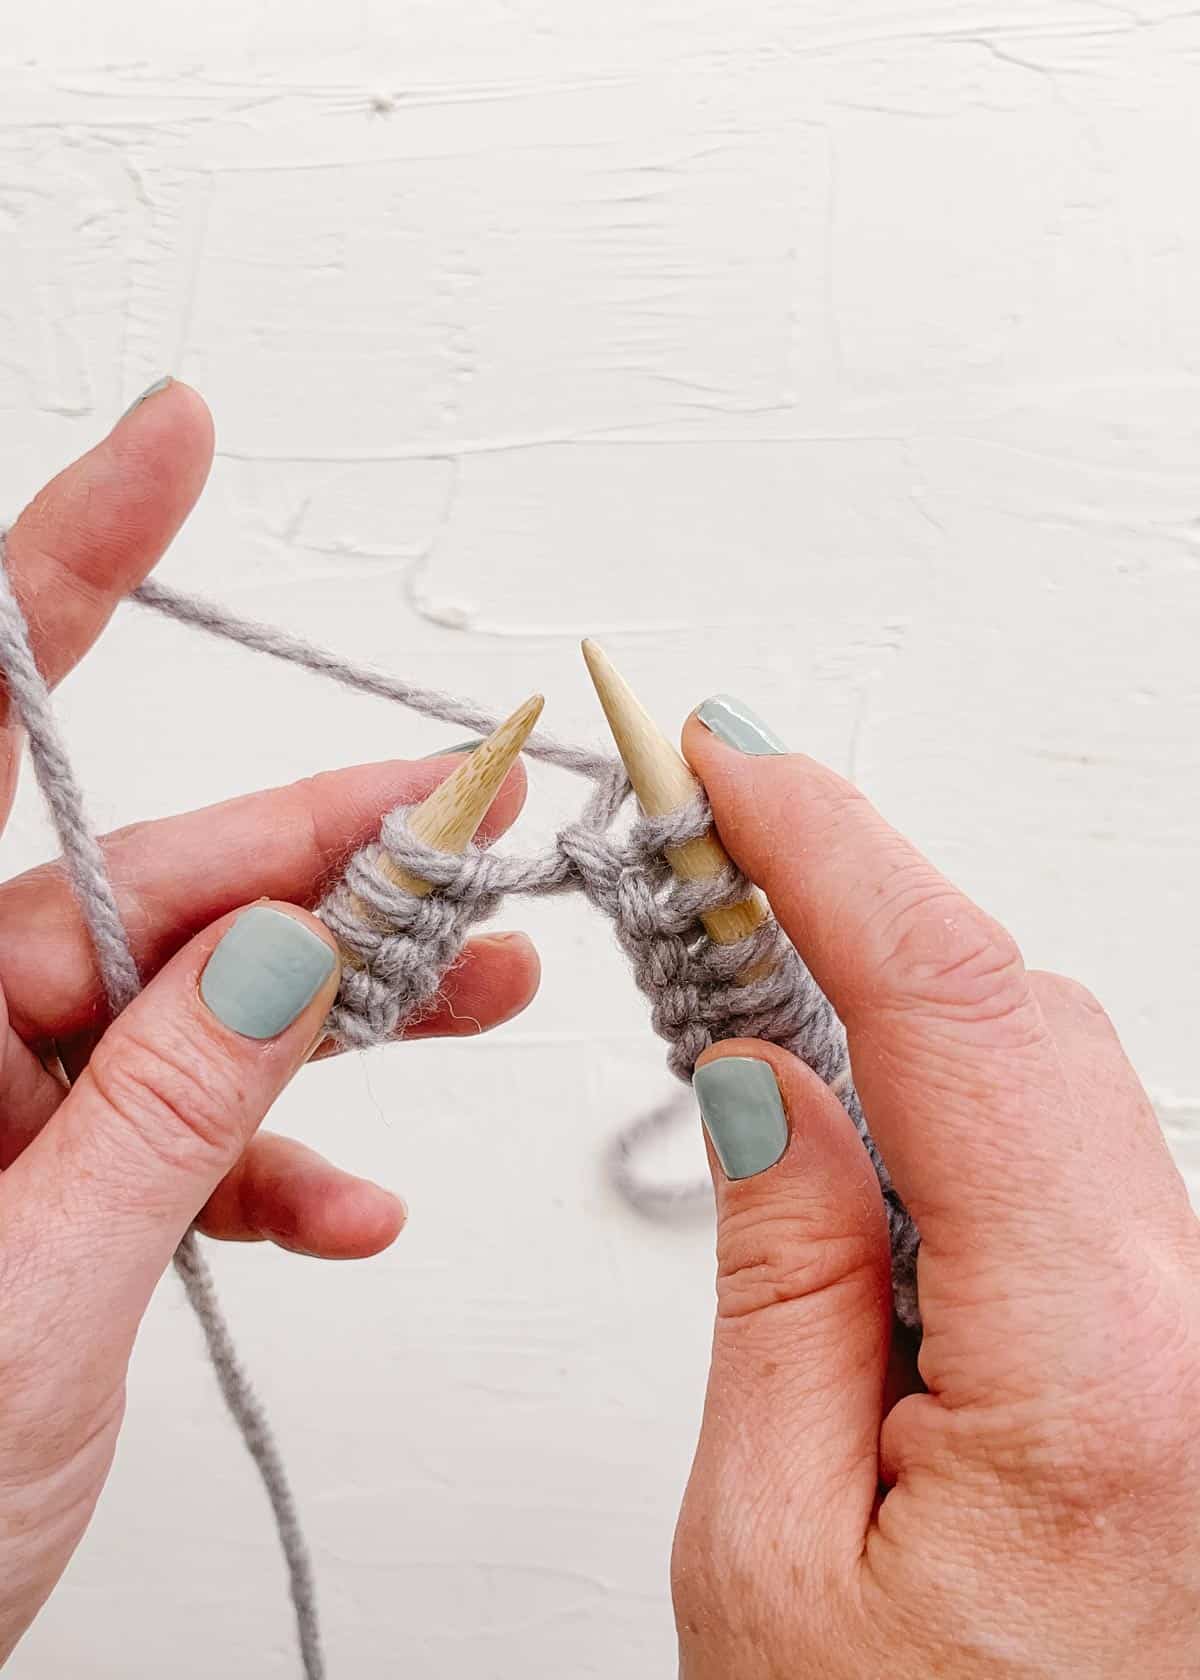
Step 2: Insert the Needle Through the Stitch
Approaching from the right, insert the right-hand needle front to back through the loop under the first stitch.
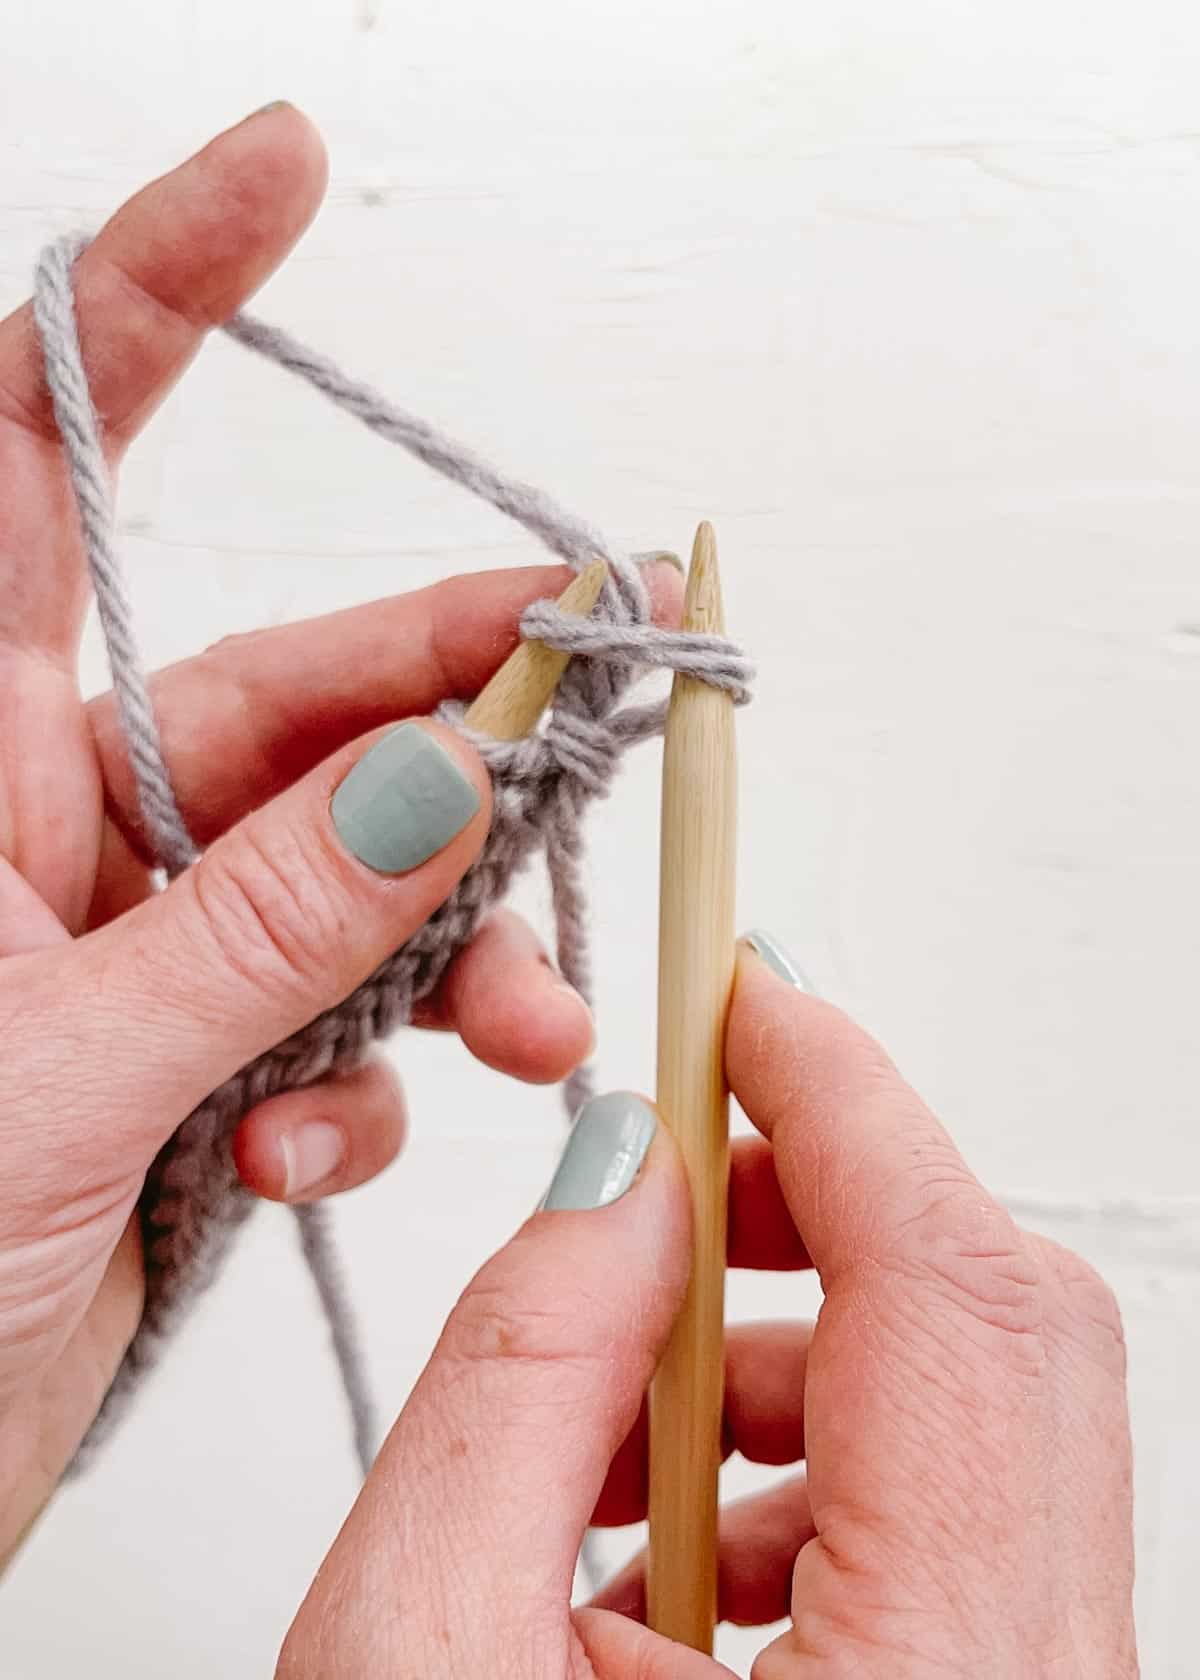
Pro Tip: The first knit stitch of a row can be a little slippery. I like to hold it in place with my left middle finger, while also using that finger to position the working yarn.
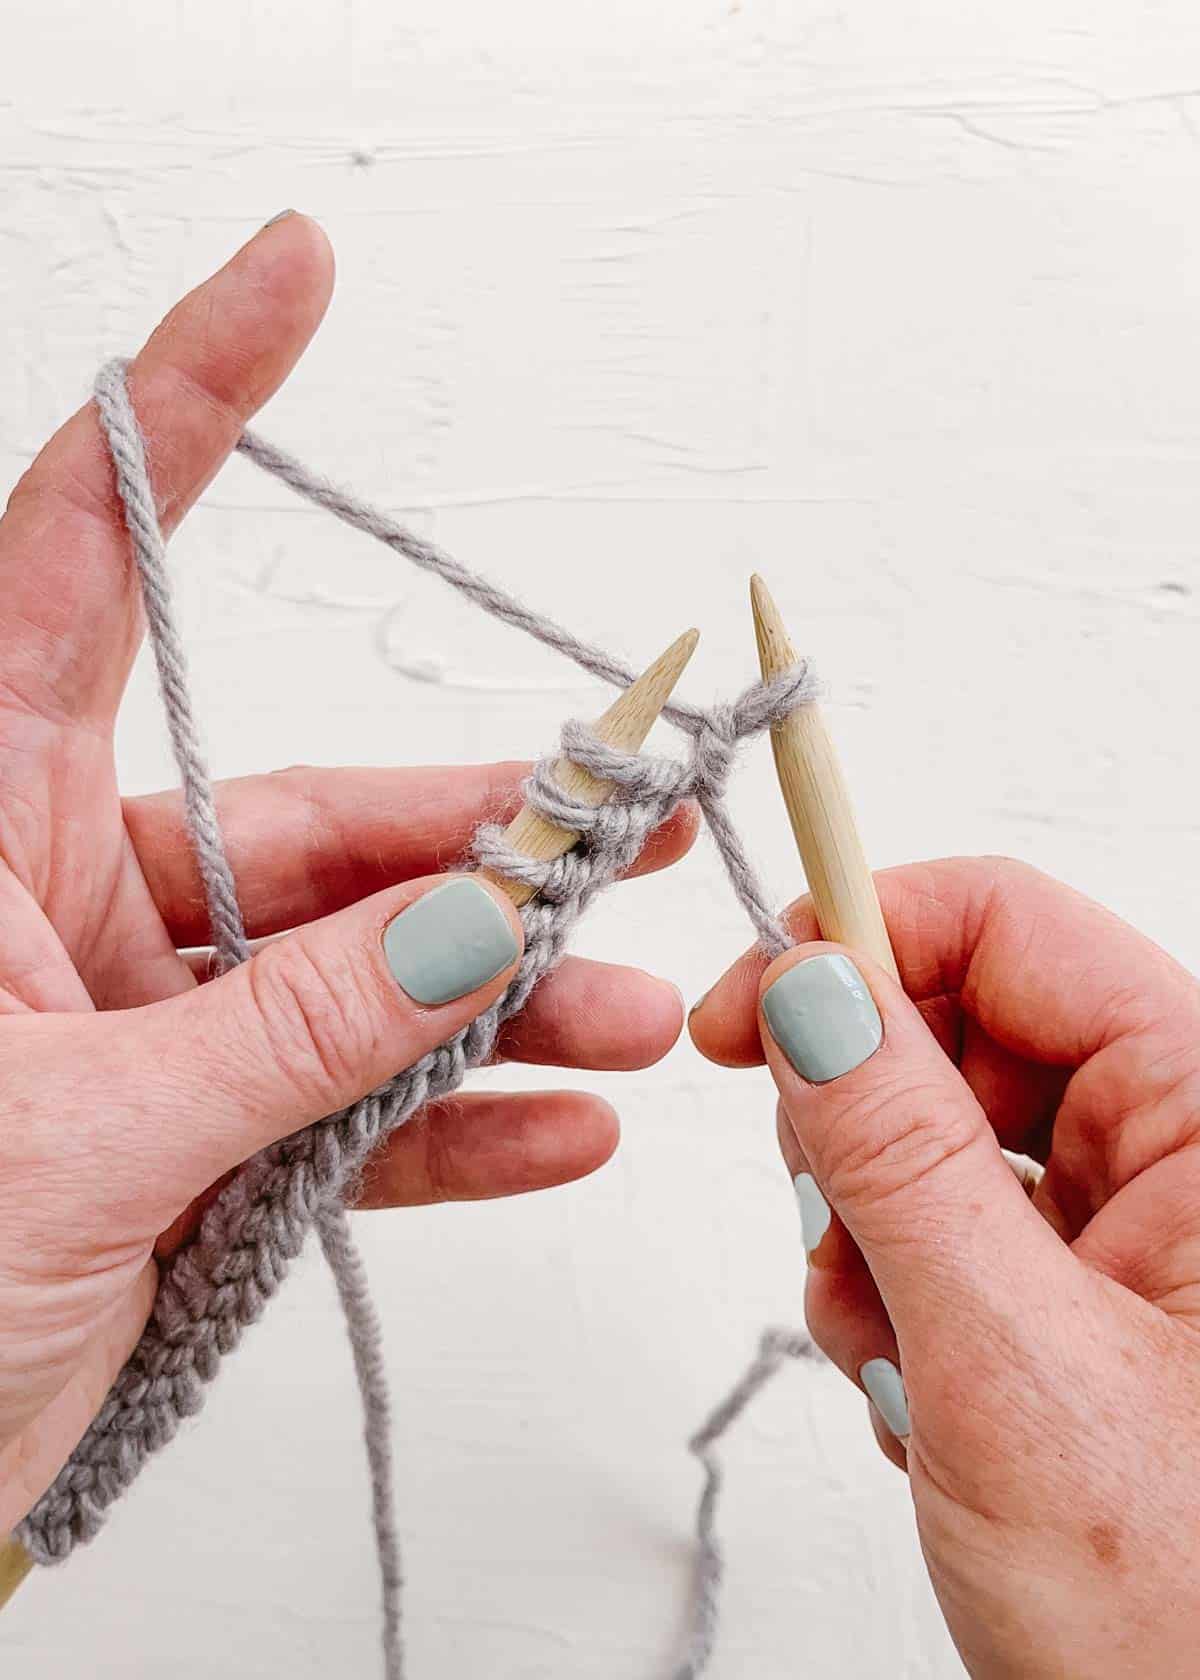
Step 3: Pick the Stitch
Scoop up the working yarn with the right needle. Pull this new loop of yarn through the old stitch with your needle.

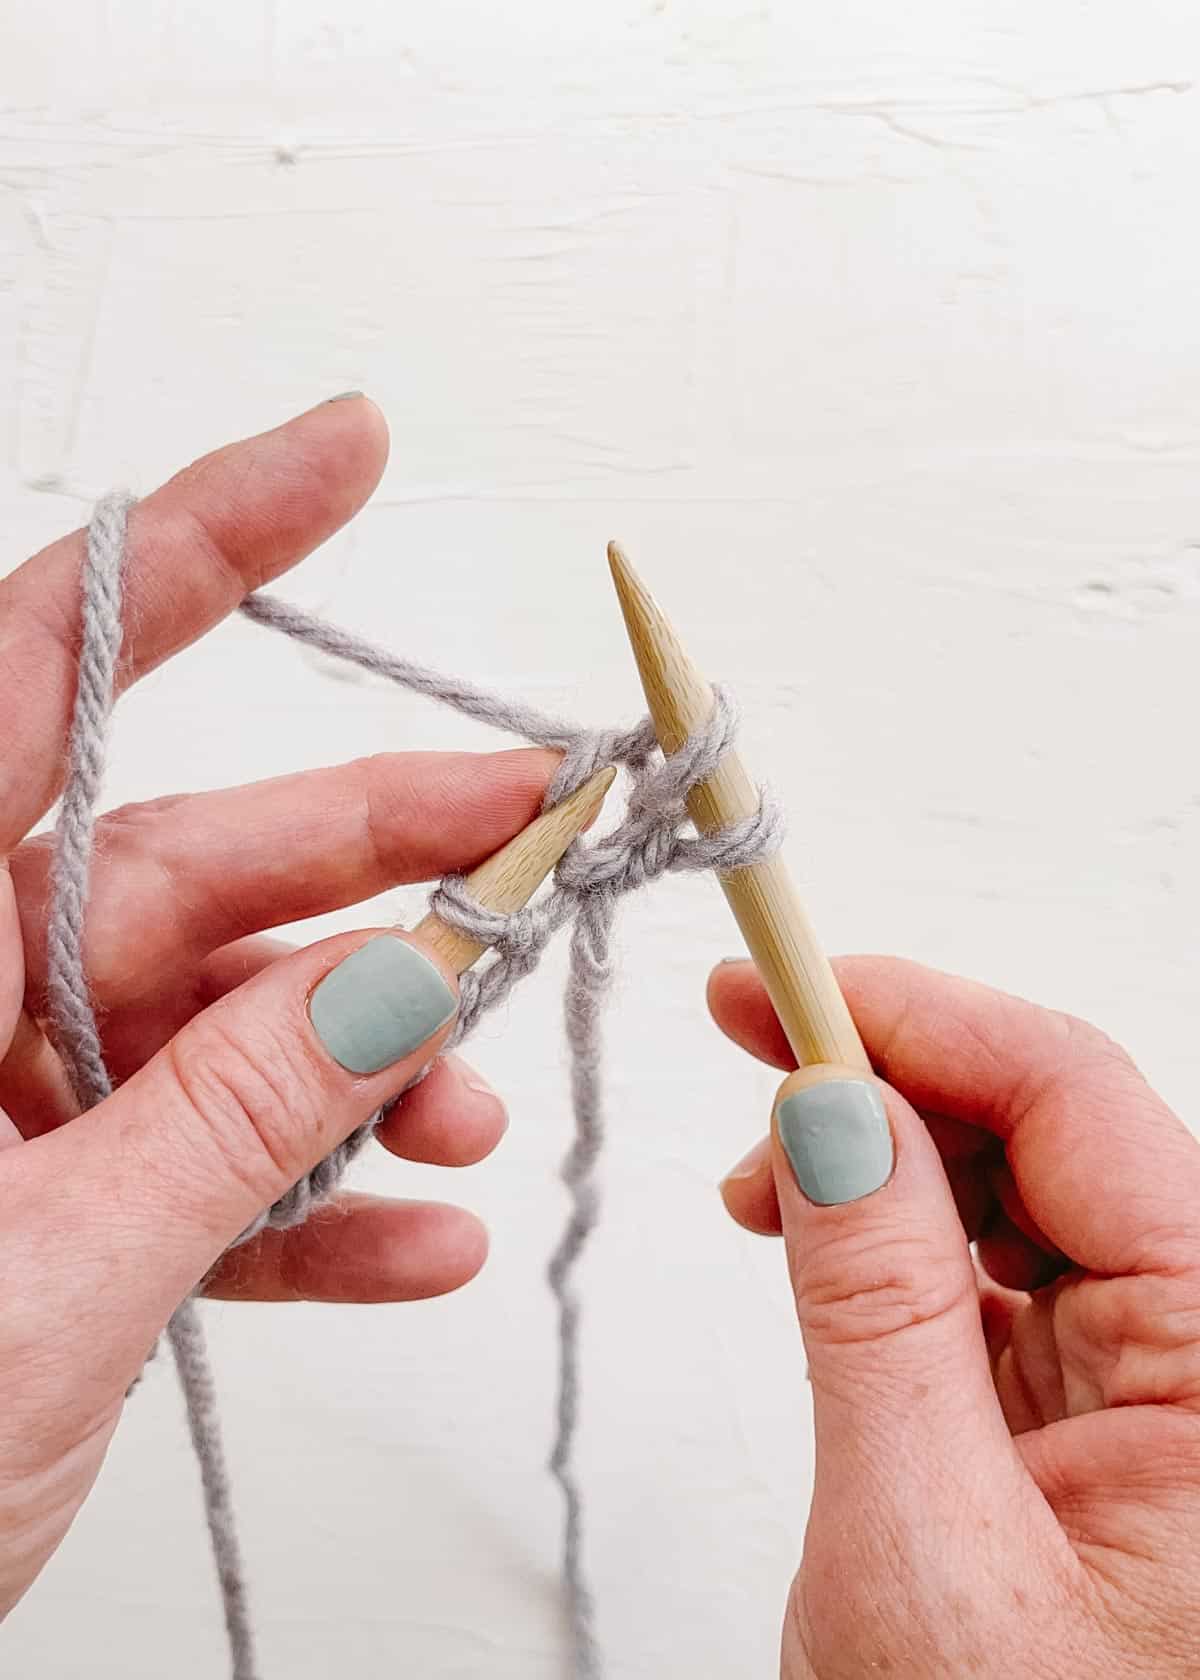
Step 4: Transfer the Stitch
Slip the old yarn off your left needle. Now you have one less stitch on your left needle than when you began, and one new stitch on your right needle. Your first knit stitch is complete!
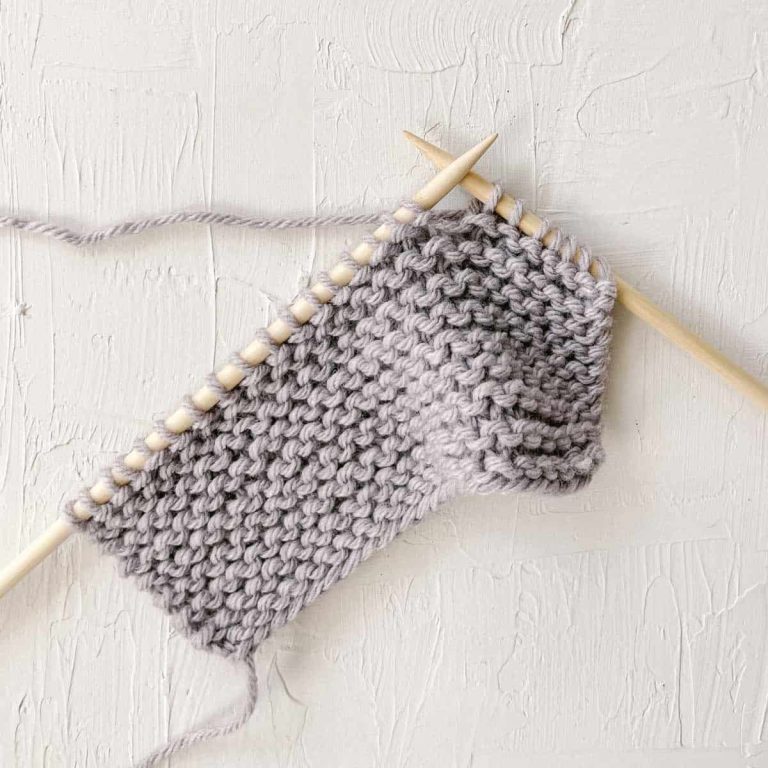
Knit Stitch: Step-by-Step Pictures
The same sequence of steps you used for your first knit stitch can be repeated all the way across the row, creating garter stitch.
Here’s how to continue making knit stitches.

Step 1: Insert the right needle from front to back, coming from the right-hand side.
Step 2: Pull the working yarn through the loop of the stitch with the right needle.
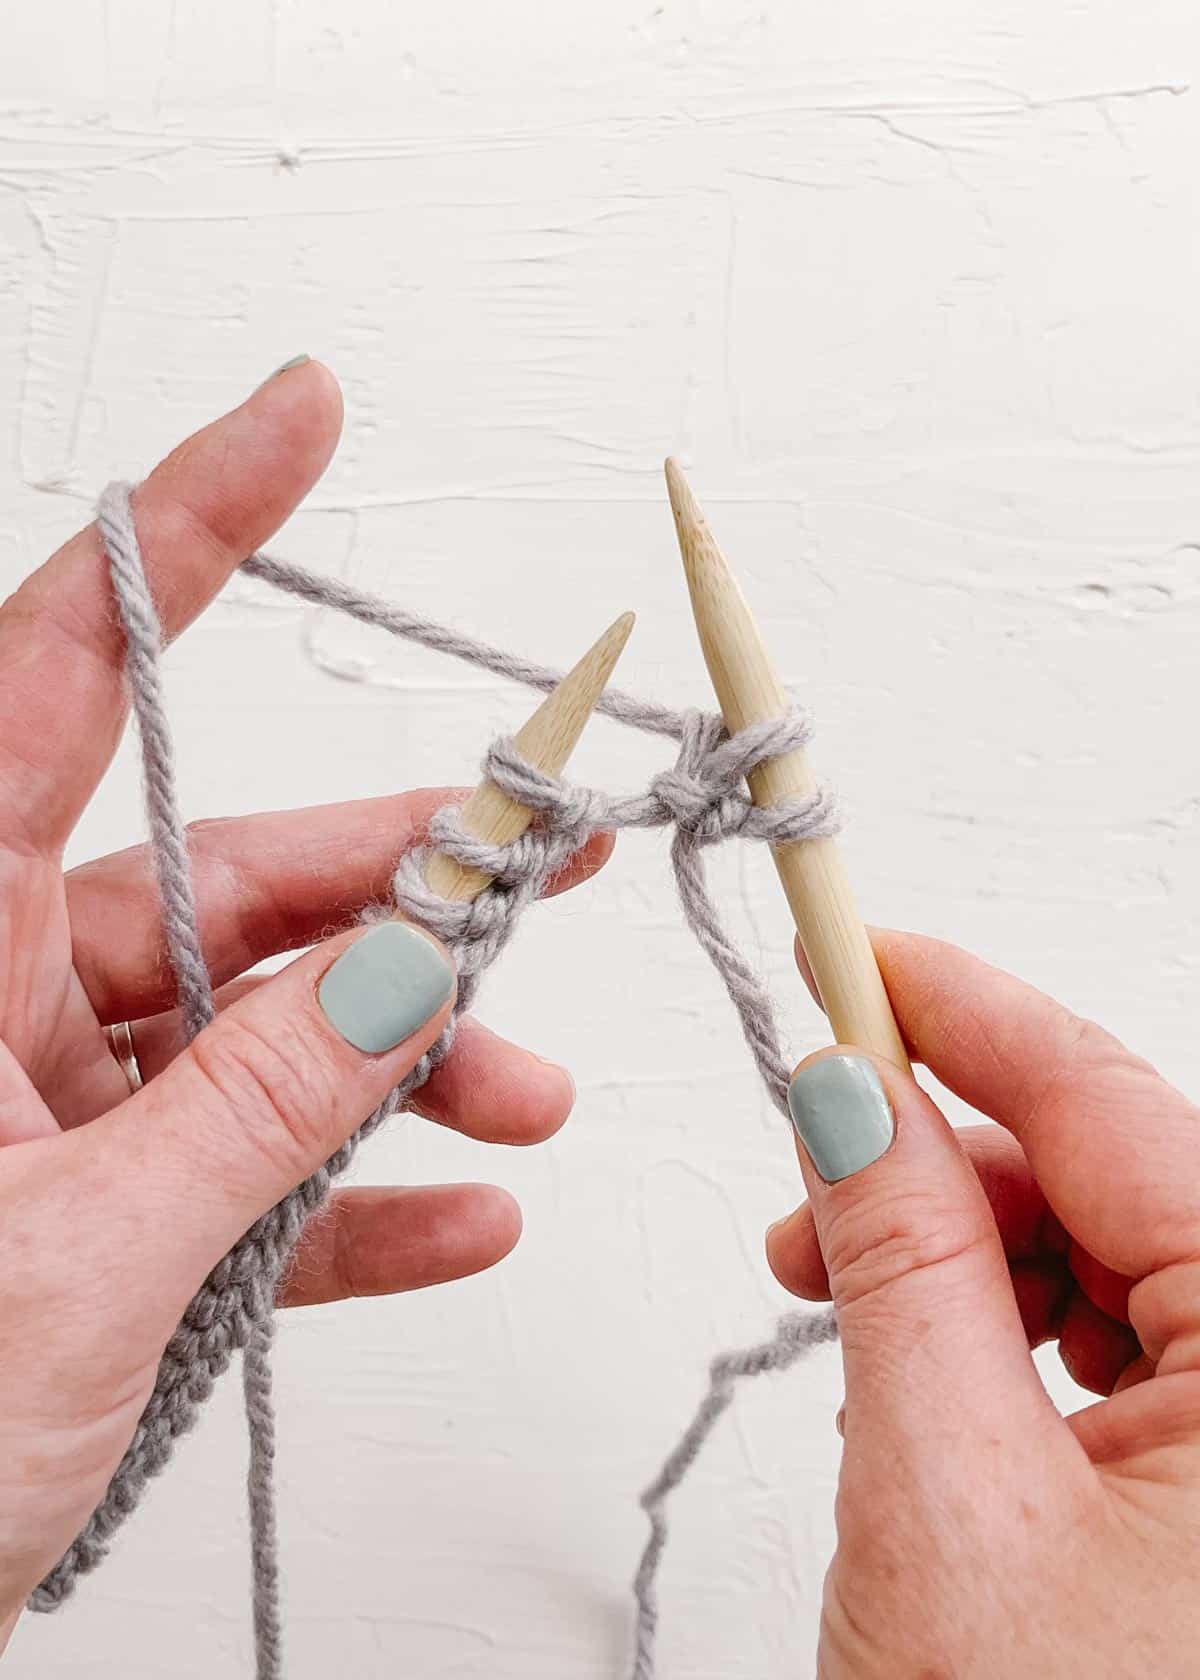
Step 3: Transfer the old stitch off the left needle, keeping the new stitch on the right needle.
Step 4: Secure the new stitch on the main body of the right needle.
How to Turn Your Work
Once you’ve reached the end of the first row, it’s time to turn your work to start knitting along the second row. Turning your work simply means swapping which needle is in which hand.
The next stitch to be worked will always sit closest to the tip of the needle held in your left hand. The working yarn will run down from this, ready for you to pick up when knitting your next row.
Using the same method as before, knit across the row, turn, and repeat. Refer to your pattern for the required number of rows, or knit to your desired length.
Materials and Tools
Basic knitting supplies are all you need to make the knit stitch. Here is the equipment I suggest practicing the knit stitch with as a beginner.
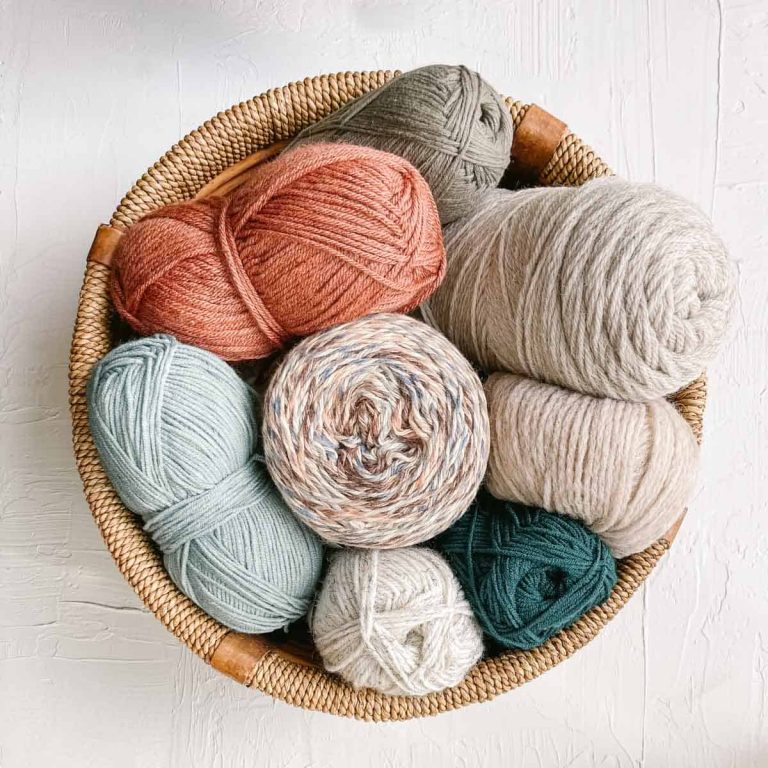
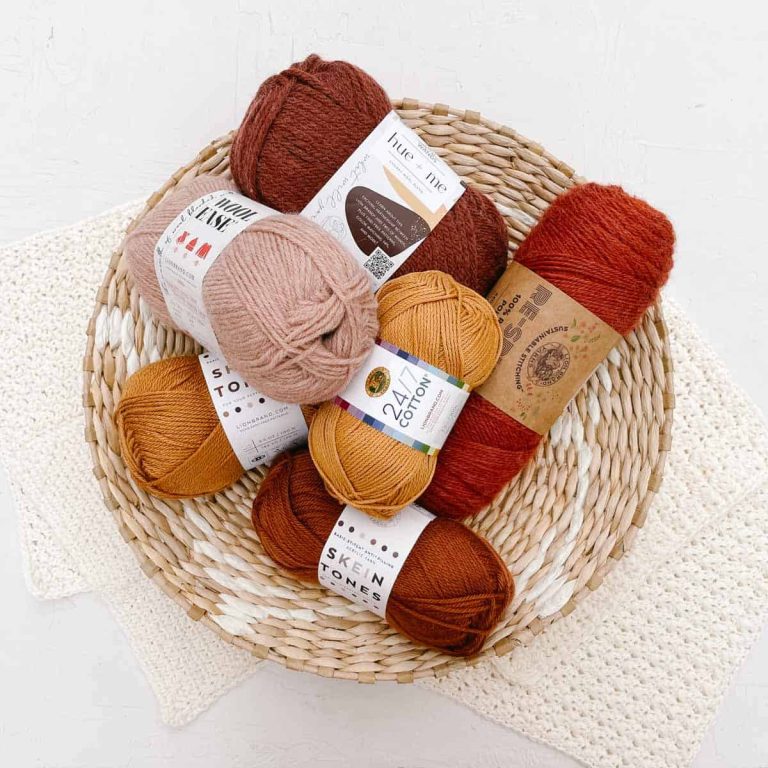
Yarn
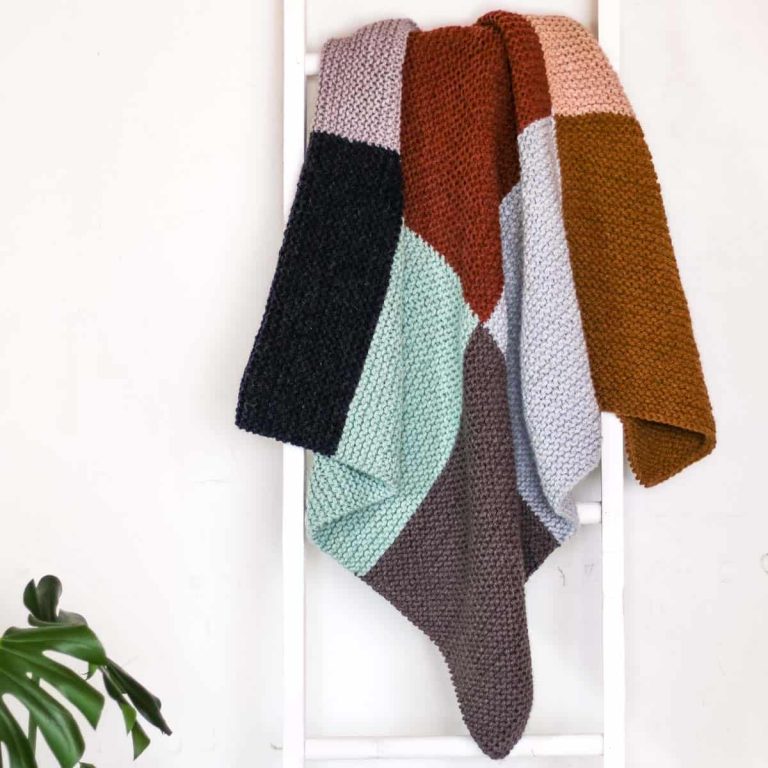
Skeins of yarn have different thicknesses and are made from different materials. If you’re practicing a garter stitch swatch, choose any yarn you would like to work with. Garter stitch blankets and scarves look great when knitted with chunky or bulky yarn.
For beginners learning how to start a knitting stitch, though, I recommend a worsted-weight yarn that stays the same thickness throughout. This will be easy and comfortable to use.
If you’re making items with specific functions, such as garments or baby blankets, consult the pattern for any special yarn requirements.
Needles
When choosing knitting needles, consider material and width. Width is always given as a needle size measurement, either in millimeters or standard US sizes.
Novice knitters should pair worsted-weight yarn with a medium-sized pair of knitting needles. Look for needles between US sizes six to eight, or four to five mm. Always double-check the back of your yarn label to be sure what size needles to pair it with.
Needles come in a range of materials, all with different benefits. For new knitters, I recommend bamboo needles. Their texture creates a nice amount of friction which can stop your knit stitches from slipping around too much.
Scissors and Tapestry Needle
Once you’ve finished your knitting and casted off, any pair of scissors will do for snipping your yarn. At this point, a tapestry needle will help you weave in loose ends and achieve a tidy and secure finish.
Casting On
In knitting, casting on means creating loops on your needle that will become your first stitches. The number of stitches you cast on depends on the desired width of your final project.
Types of Cast On
There are plenty of ways to start your knit stitches, depending on your project. Some, like the German twisted cast on, make stretchy edges, while some, such as the cable cast on, are sturdier.
I’ll show you the long tail cast on. This method is great for beginning lots of projects since it creates a flexible edge. With a little practice, casting on this way can be super speedy.
Long Tail Cast-On: Step-by-Step
- Make a slip knot a couple of inches from the end of your yarn by crossing the tail end over the working yarn (attached to the ball) and pulling it through the center of the loop. Slide it onto your non-dominant needle.
- Hold the needle in your right hand and separate the working yarn and the tail of the slip knot with your left thumb and index finger, creating a “V” shape.
- Insert the needle into the loop on your thumb from left to right, going under the tail.
- Bring the needle up and over the working yarn.
- Scoop the yarn through the loop around your thumb, creating a loop on the needle.
- Gently tighten the loop on the needle so it sits snugly.
- Repeat steps 4 to 6 until you have the desired number of stitches.
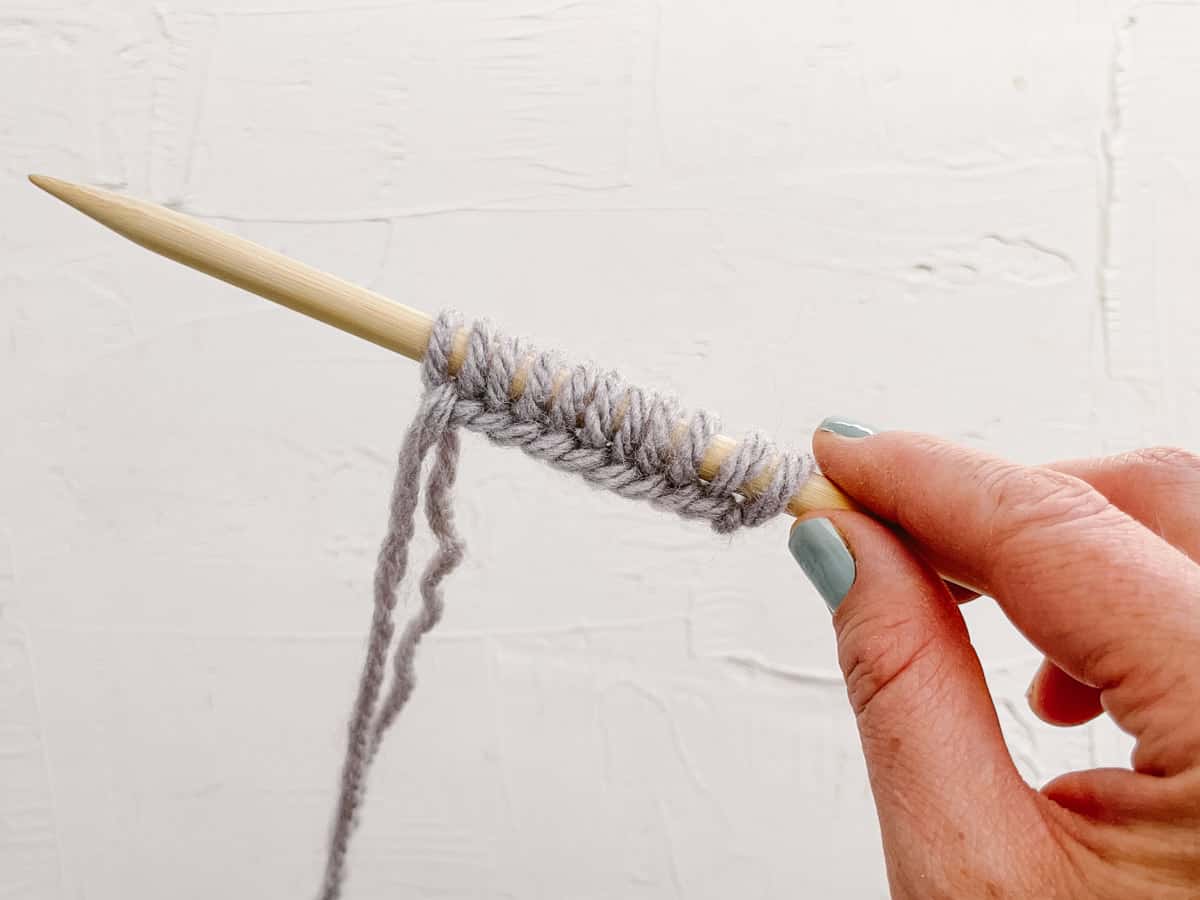
When you’re done casting on, each loop on your needle will have a small bump of yarn underneath it. This will be the line of stitches at the edge of your work.
How Many Stitches Should I Cast On?
For beginning a sample swatch, check the suggested gauge on your yarn label. This will show you the number of stitches per inch. Aim for a swatch between 4 and 6 inches wide.
If you’re using a pattern with instructions for knitting a gauge swatch, refer to the number of stitches given in the pattern.
If you’re casting on just to practice the knit stitch, you can begin with as many stitches as you like.
How to Bind Off Stitches
When you come to the end of your project, you will need to secure the stitches so that all your hard work doesn’t come undone.
Binding off, otherwise known as casting off, ensures that your stitches don’t unravel. This process also produces a neat, professional-looking edge.
Casting Off: Step-by-Step
The basic bind off is ideal for using on projects made with the knit stitch. It consists of a few simple steps:
- Knit the first two stitches of the row as usual.
- Use your left needle to bring the first stitch over the second and slip it off the right needle.
- Knit one more stitch.
- Repeat steps 2 and 3, slipping off one stitch and then knitting another until you have one stitch left on the right-hand needle.
- Remove the right-hand needle, keeping the loop of the last stitch open.
- Cut the working yarn and pull it through the last stitch to secure it.

Why Does My Knit Stitch Look Weird?
The most common reason a knit stitch looks weird is that it’s twisted or too loose.
Learning how to knit is a process, and mistakes are bound to happen along the way. Don’t panic when they do!
Plenty of knitters have encountered the same problems. (I’ve personally probably made every mistake in the book!) This means that finding help is easy once you know where to look.
Fixing Common Mistakes
Being aware of potential mistakes and knowing how to identify them are key skills in knitting. Here are some common errors you may make and how to fix them.
Adding Stitches by Accident
Sometimes, a pesky extra stitch may appear in your row of knit stitches. You may have knitted into a gap instead of a stitch or accidentally split the yarn of a previous stitch in two, creating two separate stitches.
However, the most common cause of unnecessary stitches is an accidental yarn over.
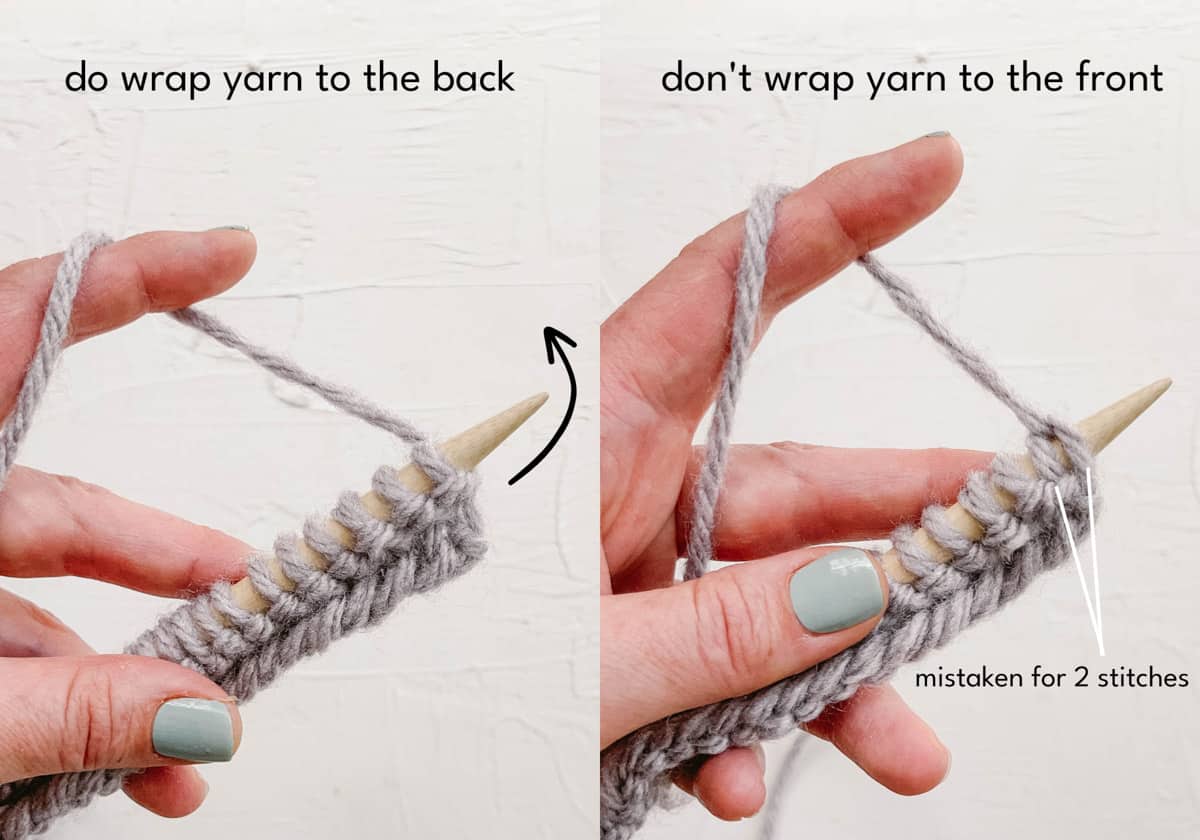
Accidental Yarn Overs
For a yarn over, the working yarn is brought to the front of the work. When you are working a basic knit stitch, always position the yarn behind your work on the left-hand needle.
If you wrap the yarn to the front of the needle, you risk mistaking the first stitch for two stitches. Knitting into both of these loops is what may have caused your unwanted stitch.
Dropping Stitches
Dropped stitches in knitting occur when a stitch slips off the needle, unraveling the row below it. If this happens, fix the stitch in place with a stitch marker to prevent further unraveling.
Keeping a sufficiently tight tension when knitting will help avoid dropped stitches. You can also make stitches less likely to slip off by not knitting with them bunched up toward the tip of your needle.
Lastly, be mindful that the material of your knitting needles matches your experience level. (Avoid smooth metal needles while you are learning!)
Twisting Stitches
Instead of the regular knit stitch, where the right leg of the stitch faces towards the right, in a twisted stitch, the right leg faces towards the left. Though this type of stitch can be used intentionally in some stitch patterns, it is a mistake in simple knit stitch.
Inserting the needle into a stitch through the back loop instead of the front causes a twisted stitch, which will appear tighter than the others in the row. While this mistake in the knit stitch isn’t catastrophic, it’s one you’ll likely stop making with more practice.
Your Stitches Are Too Tight or Too Loose
More often than not, the tightness of knit stitches comes down to the tension of your knitting (aka how tightly you’re pulling the working yarn at the end of each stitch). Experiment with finding a comfortable balance in tension where your stitches are even and not too tight or too loose.
Always make sure you are using a needle size that is appropriate for the thickness of your skein of yarn. If your stitches are regularly too tight, try using larger needles, and if they are consistently too loose, try using smaller needles.
As with any skill, practice, and experience will help you level up your consistency. If you want to achieve a steady tension in knit stitch, I recommend practicing by creating swatches, simple knit washcloths, or garter stitch scarves.
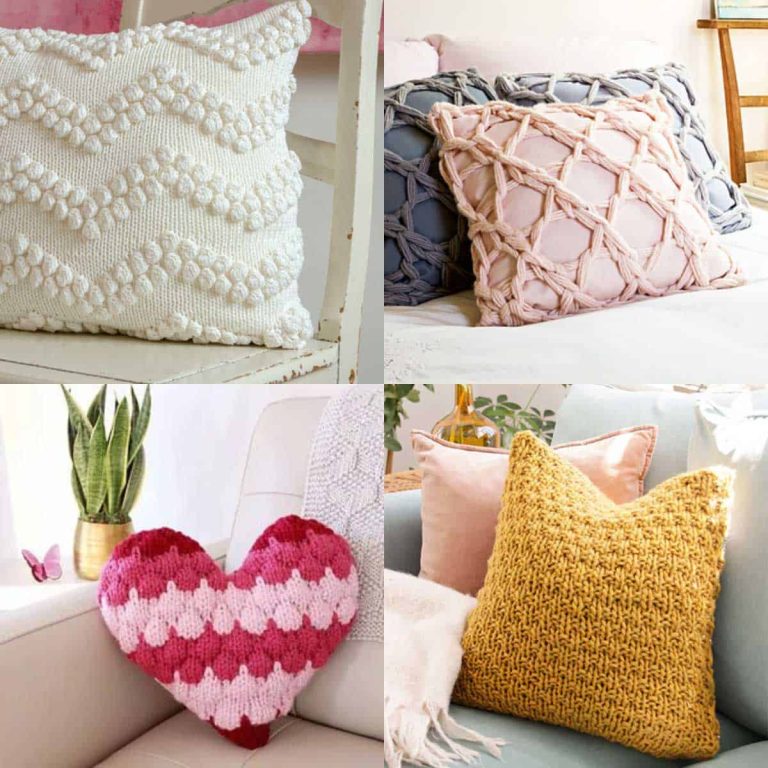
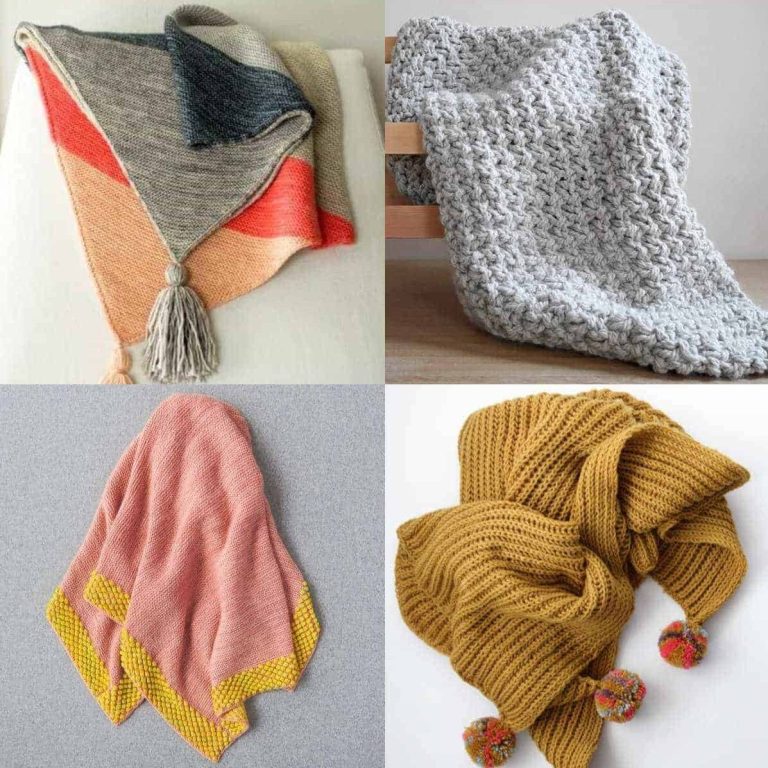
Free Patterns that Use the Knit Stitch
Now that you know how to make knit stitches, it’s time to get crafting with free knitting patterns for beginners.
Garter Stitch Projects
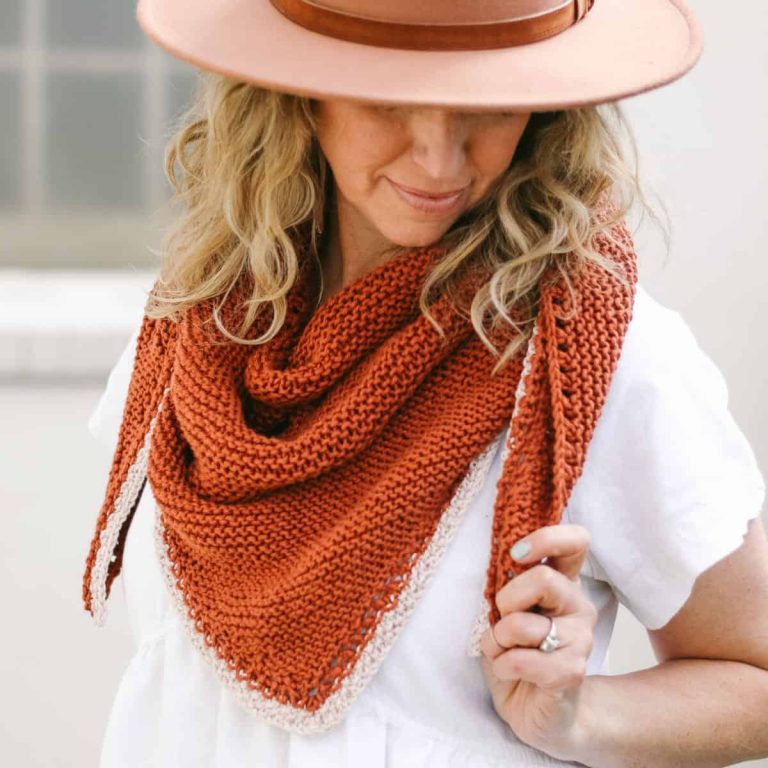
One of the best ways to practice knit stitch is to make little squares, called swatches. If you would like to knit up a project you can use or wear, why not try a dishcloth or a simple knit scarf instead?
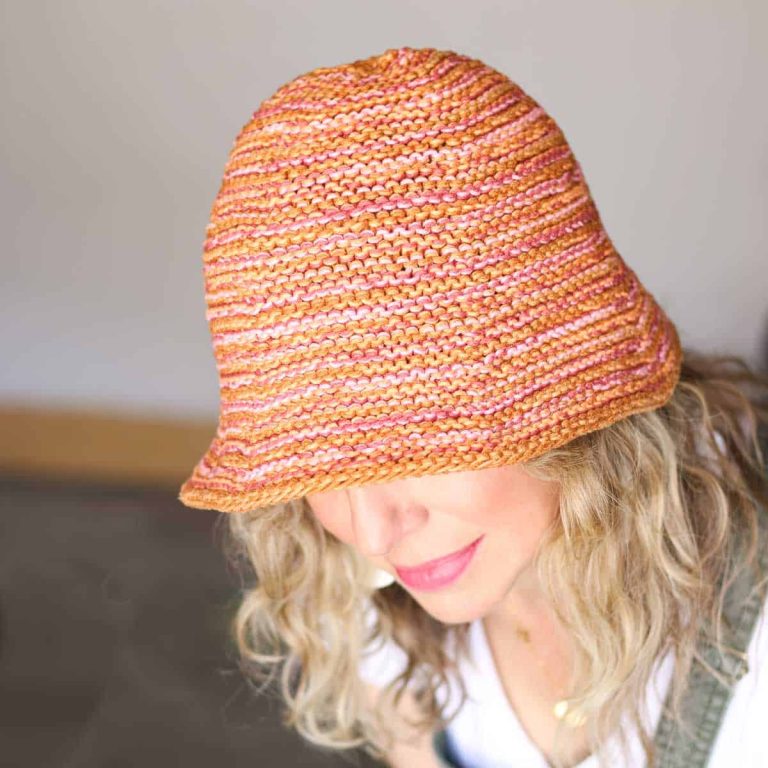
Learn how to knit a garter stitch blanket using straight needles in this easy pattern. Then try using the knit stitch to make a bucket hat using double pointed needles.
Knit and Purl Projects
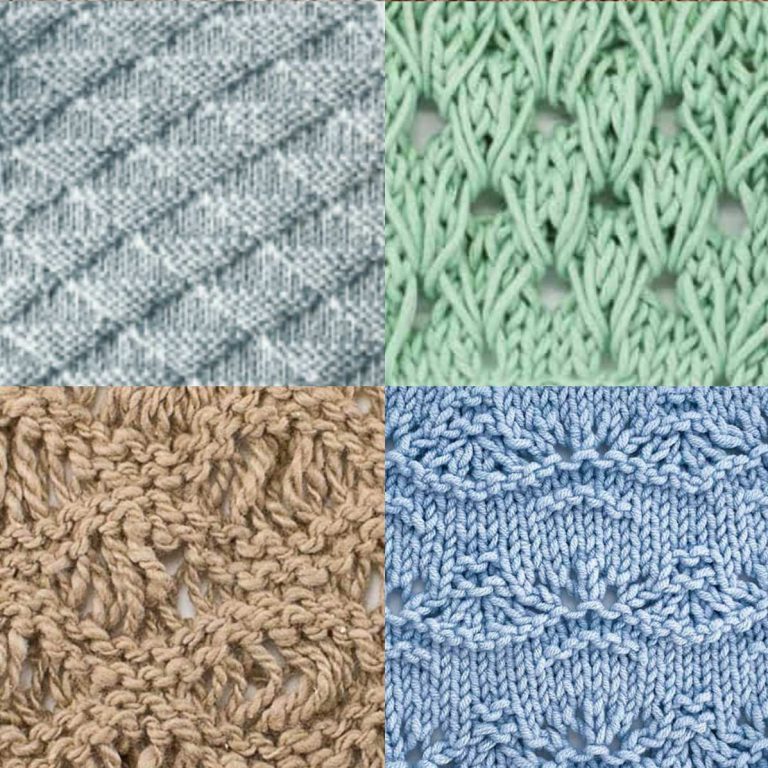
Learning the two basic stitches, knit and purl, gives you a strong basis for your knitting journey. Combining these techniques opens up a world of possibilities and gorgeous fabrics. I recommend these stitch patterns to build confidence in your knit and purl stitches:
- Stockinette: Perfect for beginners, the stockinette stitch involves knitting a full row of knit stitches followed by a full row of purl. The repeat is simple to remember and creates a smooth, timeless pattern.
- Ribbing: This stretchy fabric is made by alternating knit and purl stitches and is perfect for projects like knit beanies. The number of each type of stitch dictates how big each ‘rib’ will be – start off with 1×1 or 2×2 ribbing.
- Reversible stitches: Even novices can combine knit and purl in stitches such as seed stitch to knit up stunning reversible fabrics that look great from all angles.
FAQs
There is essentially no difference between garter stitch and knit stitch. Knitting a whole row of consecutive knit stitches creates the stitch pattern we know as garter stitch. Singular knit stitches can be used together with other stitches to work up different stitch patterns, or form garter stitch by themselves.
The knit stitch is the easiest stitch to learn in knitting. All beginners should start by getting familiar with knit stitch to build confidence and learn the fundamentals of the craft.
More Knitting Pattern + Tutorials
Don’t stop now! Check out more of our favorite knitting techniques and patterns below.
- Knit Baby Blanket Patterns