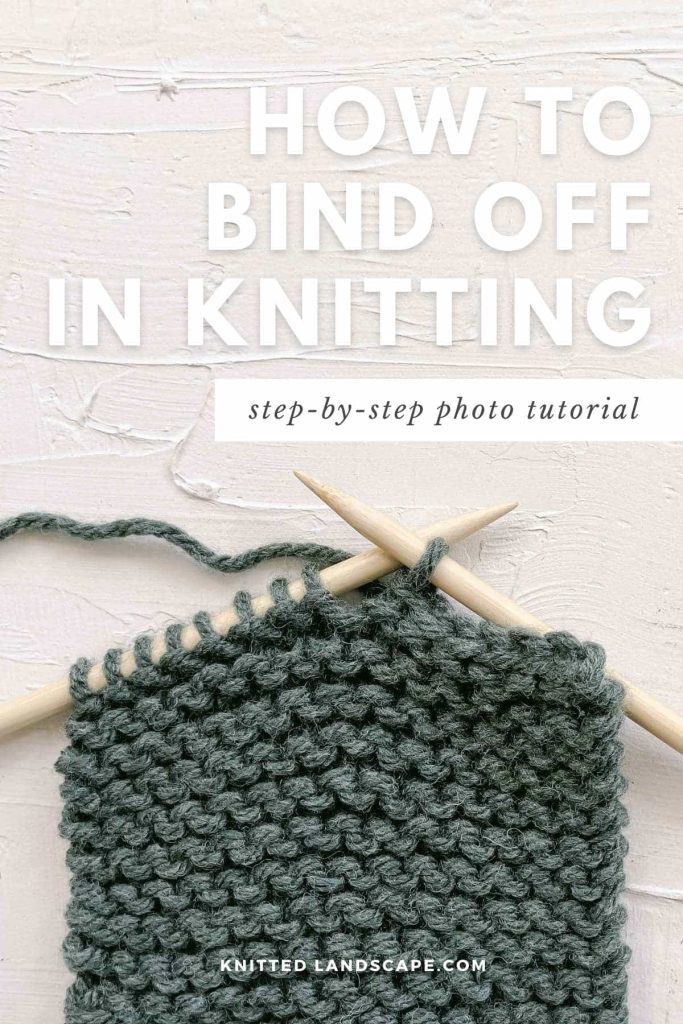
How to Bind Off (Cast Off) In Knitting Beginner Tutorial
Wondering how to take yarn off knitting needles? Binding off, also known as casting off, is a vital step in finishing any knitting project. In this guide on how to bind off knitting, you’ll learn the differences between popular cast-off styles and when to use each.
I’ll show step-by-step how to do the easiest type of bind-off, which is suitable for a range of knitting projects.
This knitting tutorial is part of a collaboration with Lion Brand Yarn.
What is Binding Off in Knitting?
First, let’s state the obvious: when you’ve finished a section of knitwork, you need to get the yarn off your needles. Binding off is the technique you use to finish knit stitches. It also serves a few other crucial functions:
- Tidying – adds a neat finish to your work
- Shaping – creates an edge with the right amount of stretchiness
- Securing – prevents the project from unraveling
After dedicating plenty of time and hard work to your knit, a perfect cast-off provides a secure end to the project.
What is the Difference Between Binding Off and Casting Off?
There isn’t one! You can breathe a sigh of relief; bind-off versus cast-off terminology is a purely geographical difference. You will find the phrase ‘casting off’ more often in the UK, while US knitters often use ‘bind off’. In this guide, I’ll use both terms interchangeably.
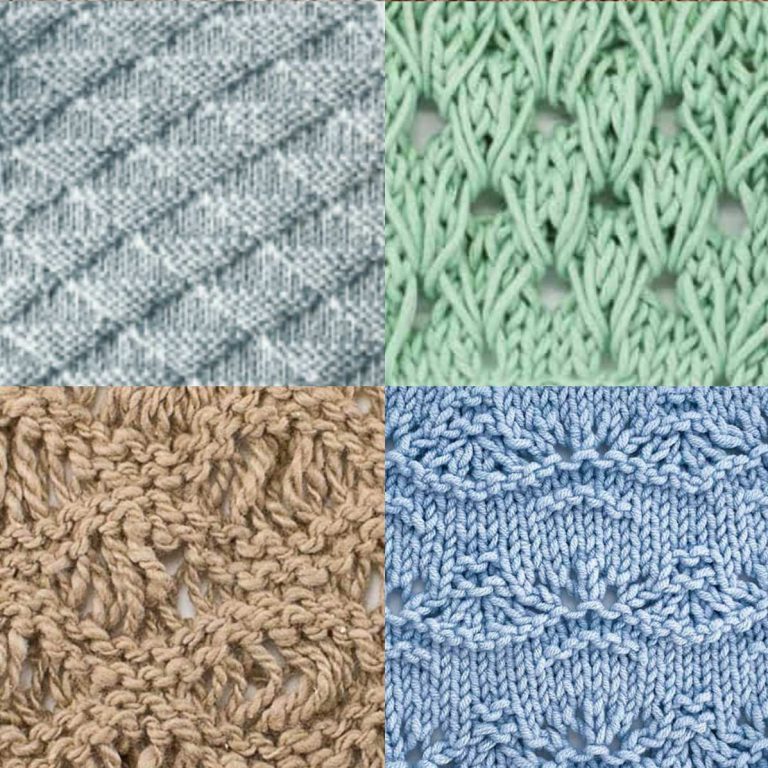
The category of ‘binding off’ in knitting contains many different methods. For example, a three needle bind-off or kitchener stitch might be used to create a hidden seam, while a knit sweater neckline might benefit from a stretchy bind-off. There’s even an i-cord bind off for adding a modern, decorative edge.
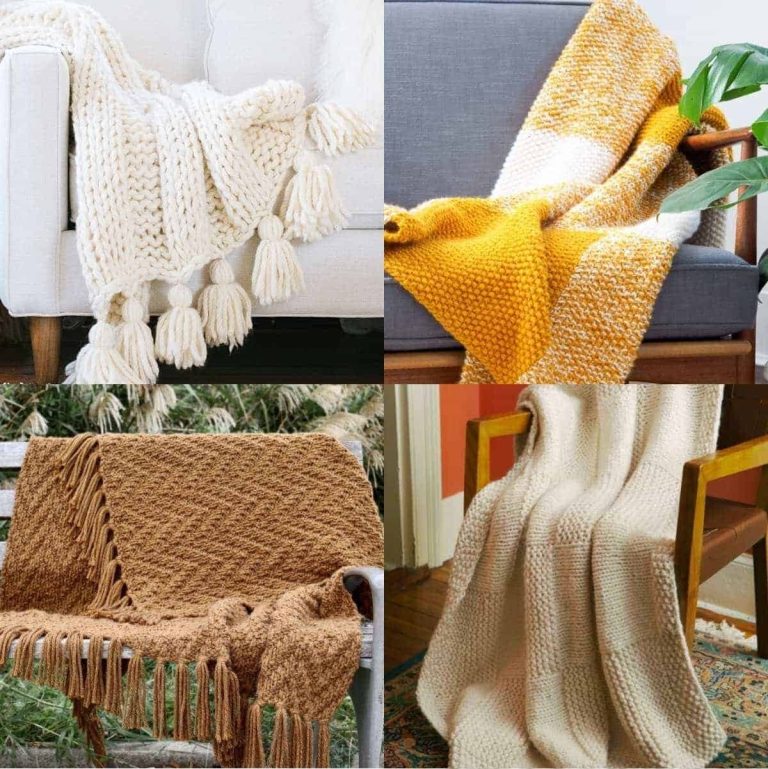
In this knitting tutorial, I’ll show you the most common, standard bind-off. It can be used for many types of projects, from knit scarves to baby blankets.
Steps for Binding Off in Knitting
Below I demonstrate a regular, basic bind-off, going knit-wise and using the Continental style. This is a versatile, accessible cast-off that all knitting beginners should learn.
The steps of binding off while knitting purlwise or using the English style will look slightly different, but the concepts are the same.
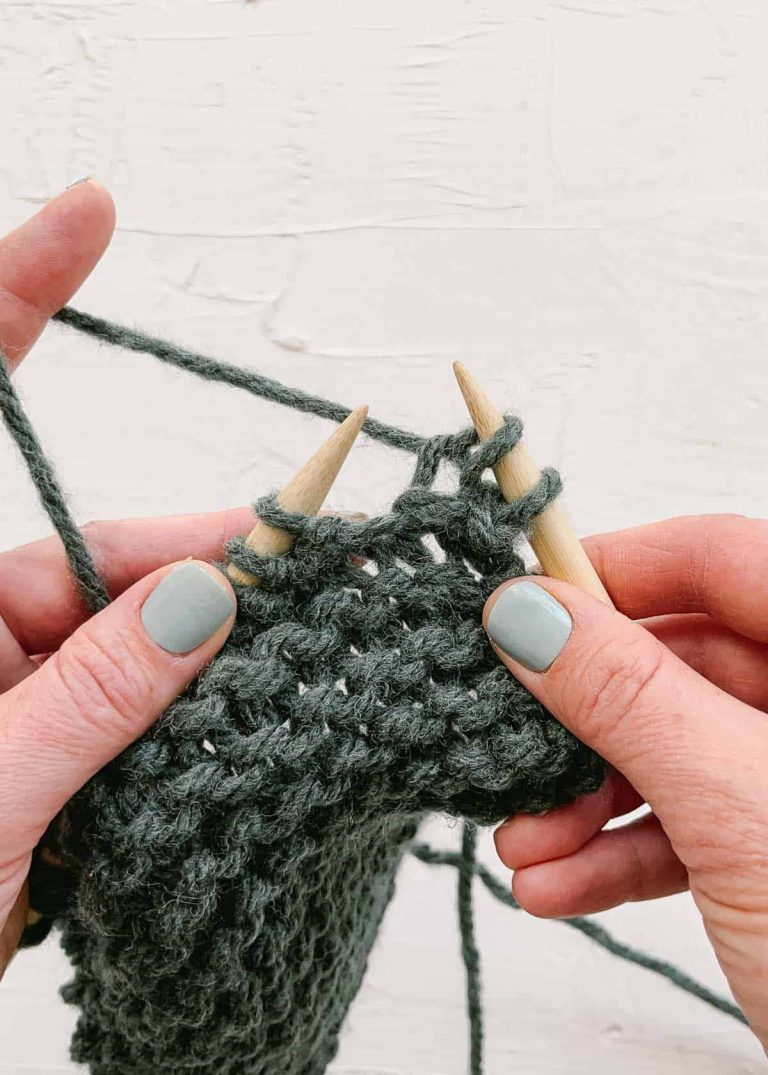
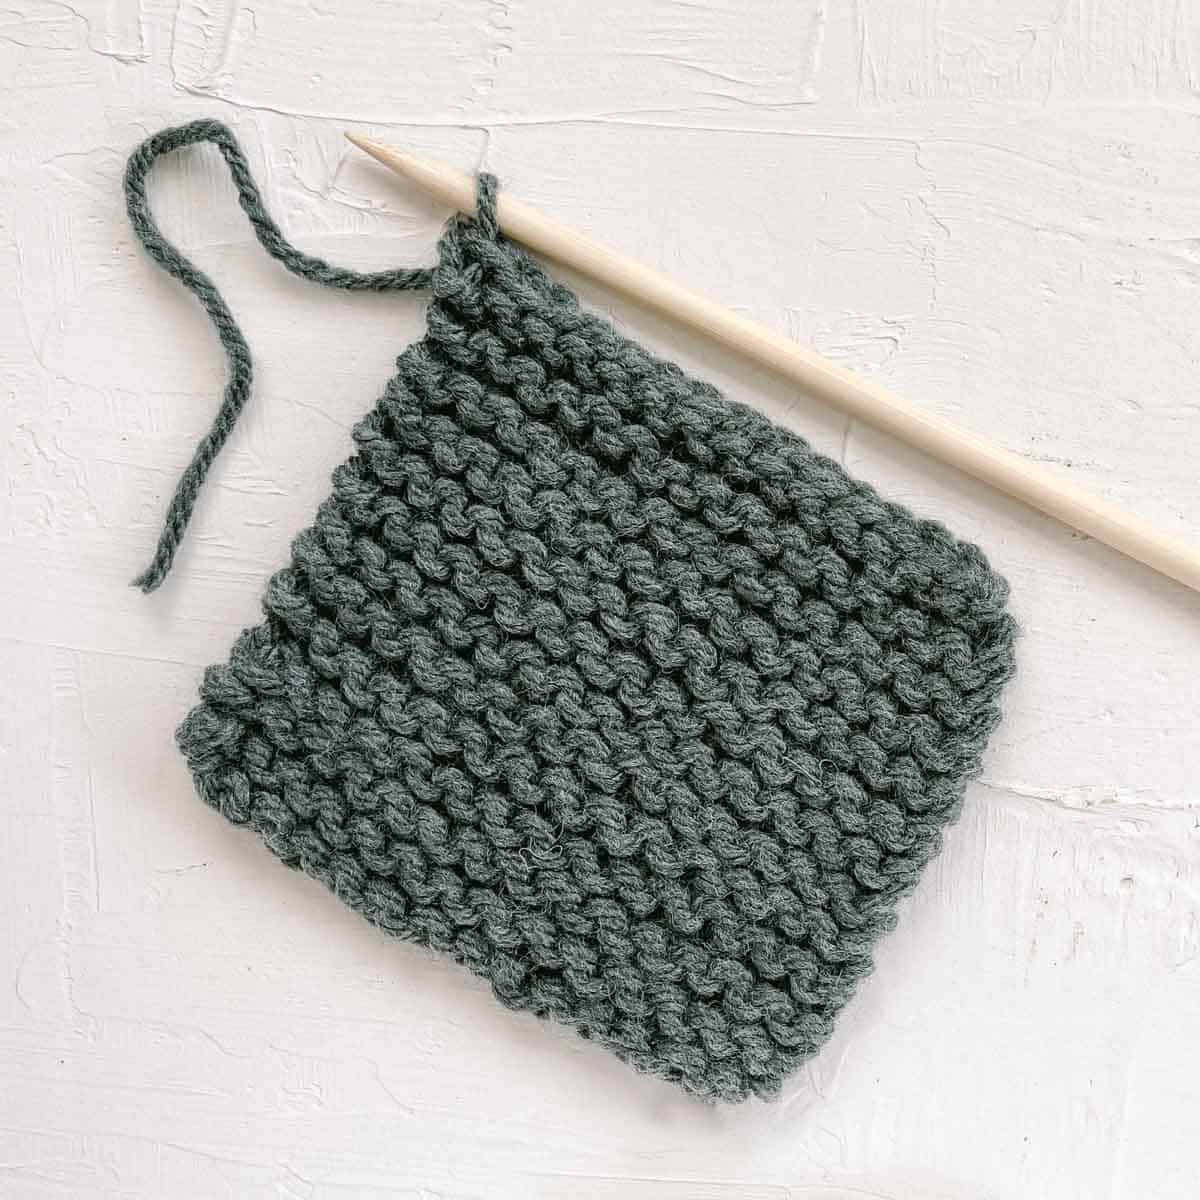
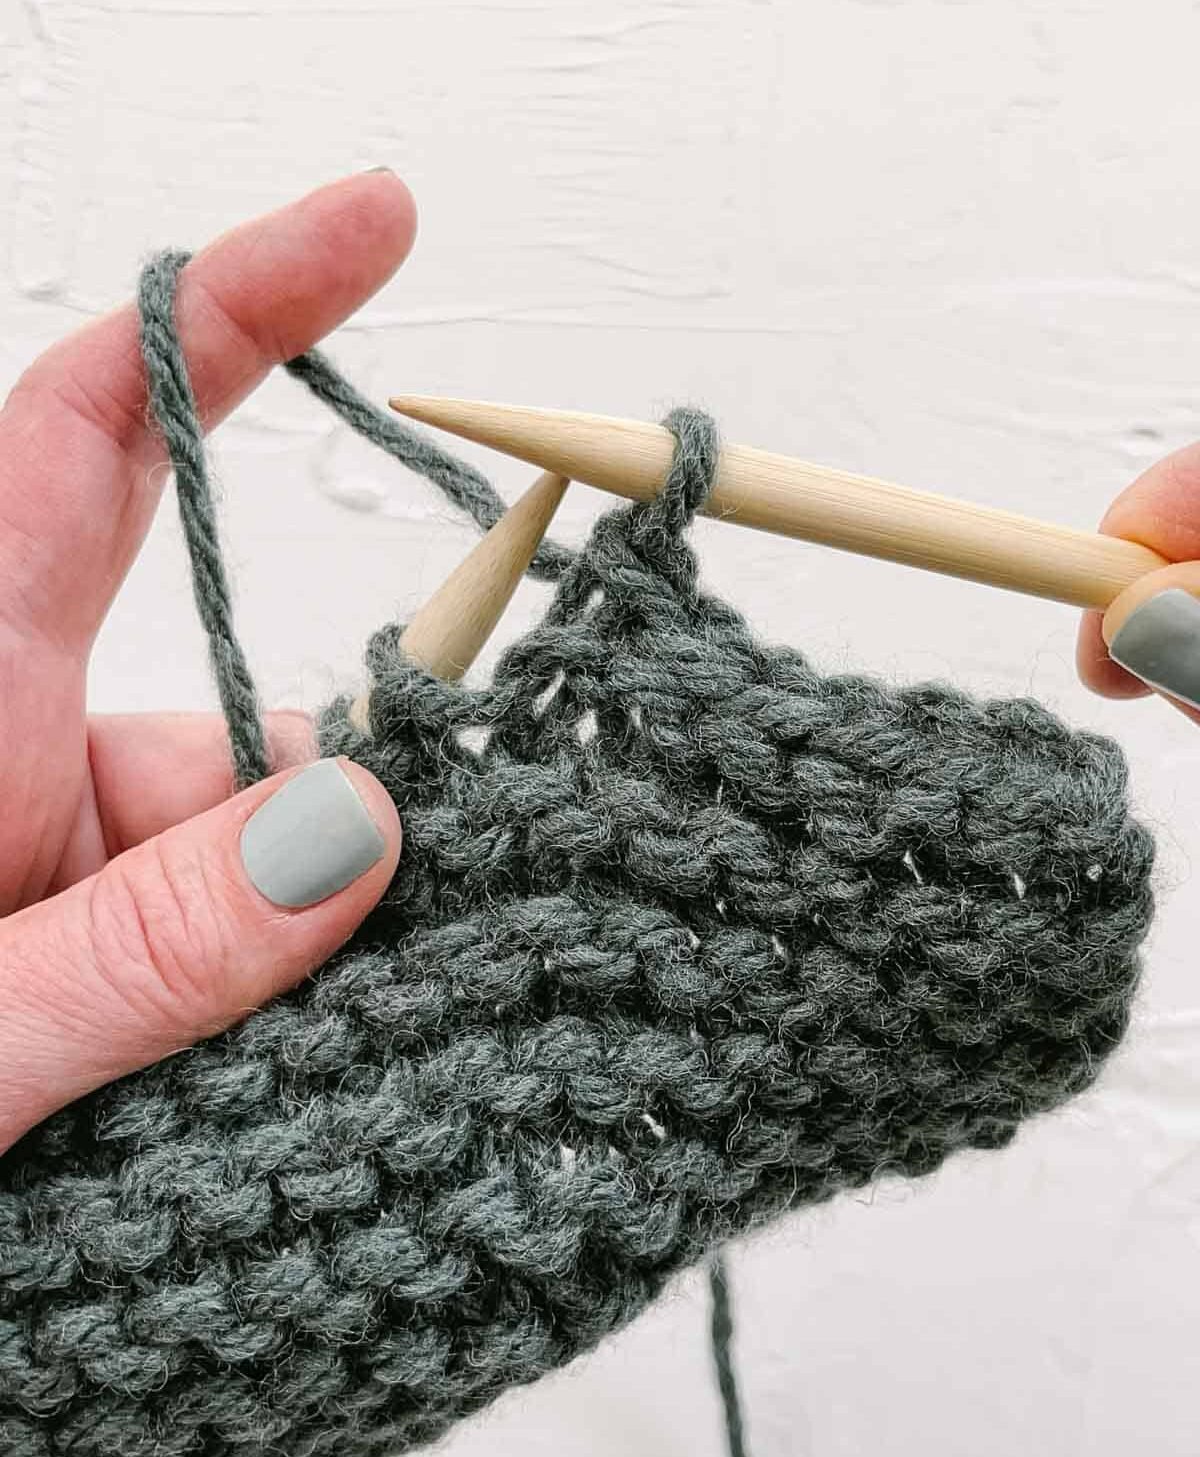
Step 1: Knit Two Stitches
Start by knitting the first two stitches of the row as you typically would.
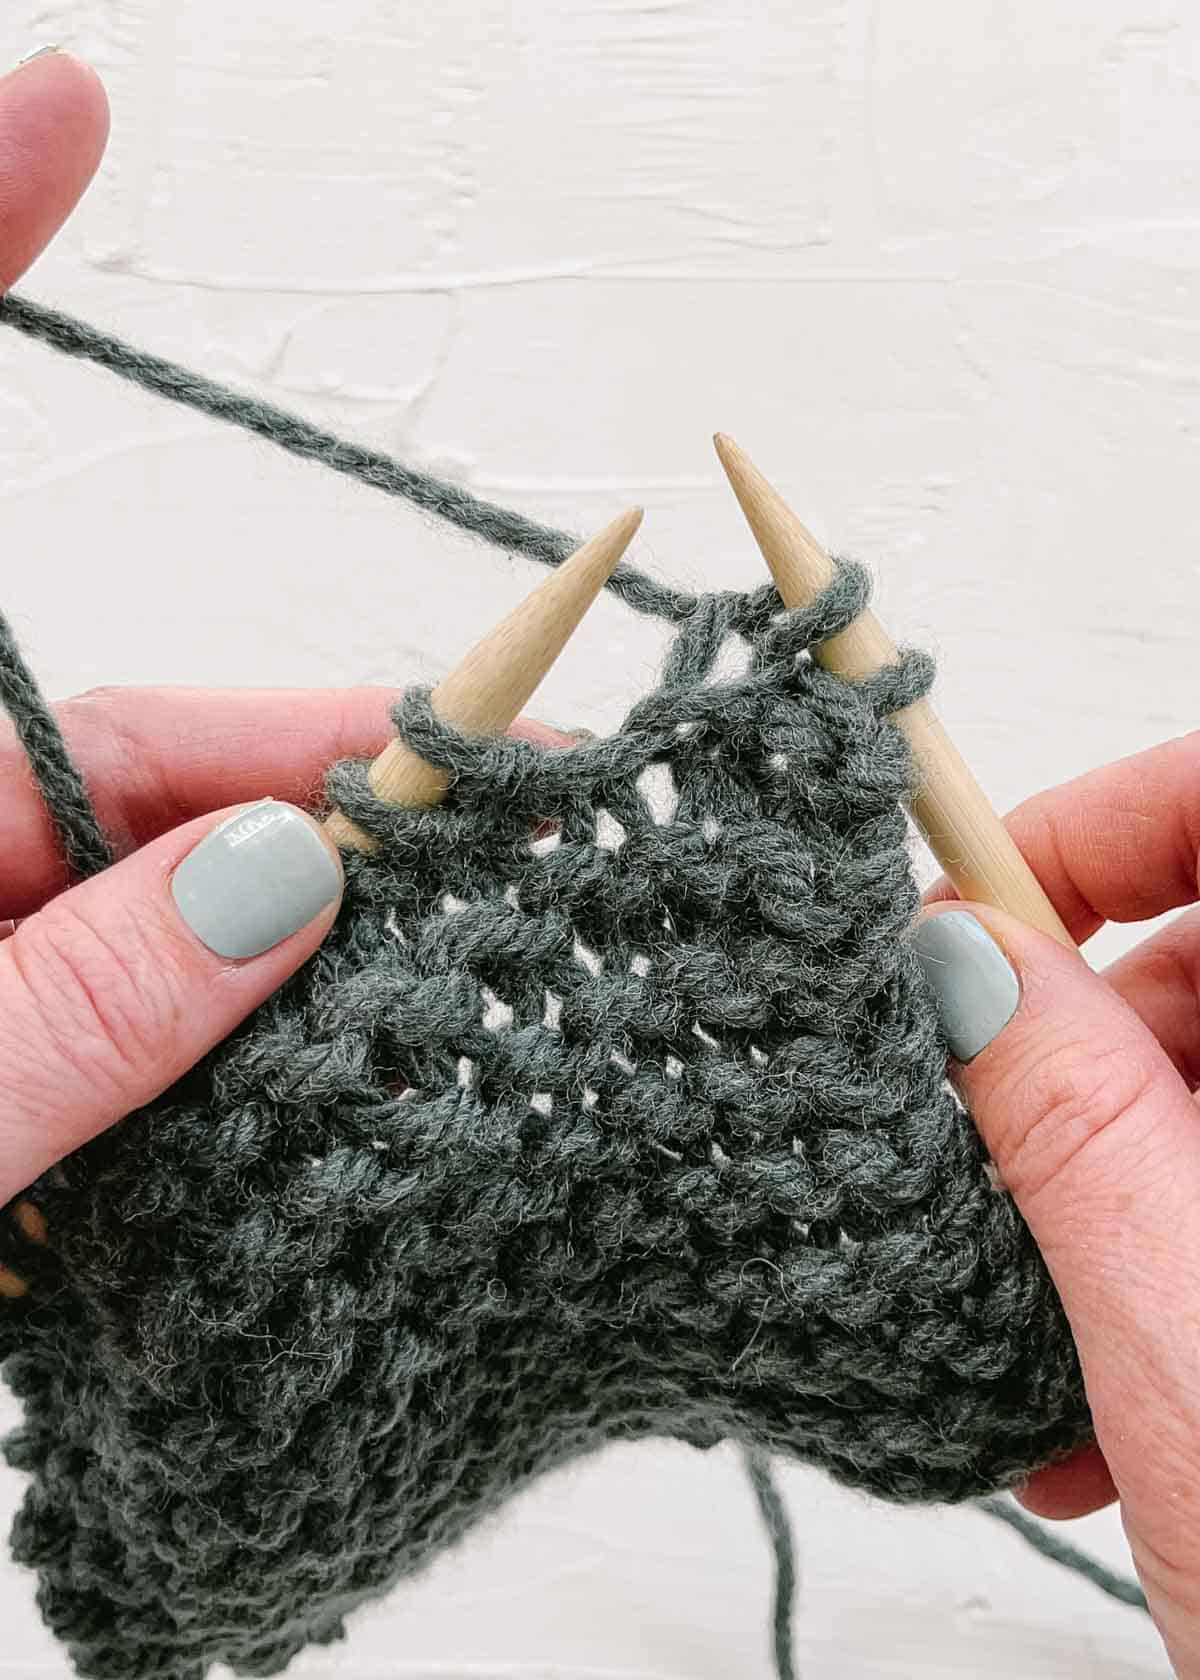
Step 2: Pull the Stitch Over and Off
Once you have two knit stitches on the right-hand needle, use the tip of the left-hand needle to pull the first stitch up and over the second stitch. Drop the first stitch away from the end of the right knitting needle. (1 stitch bound off)
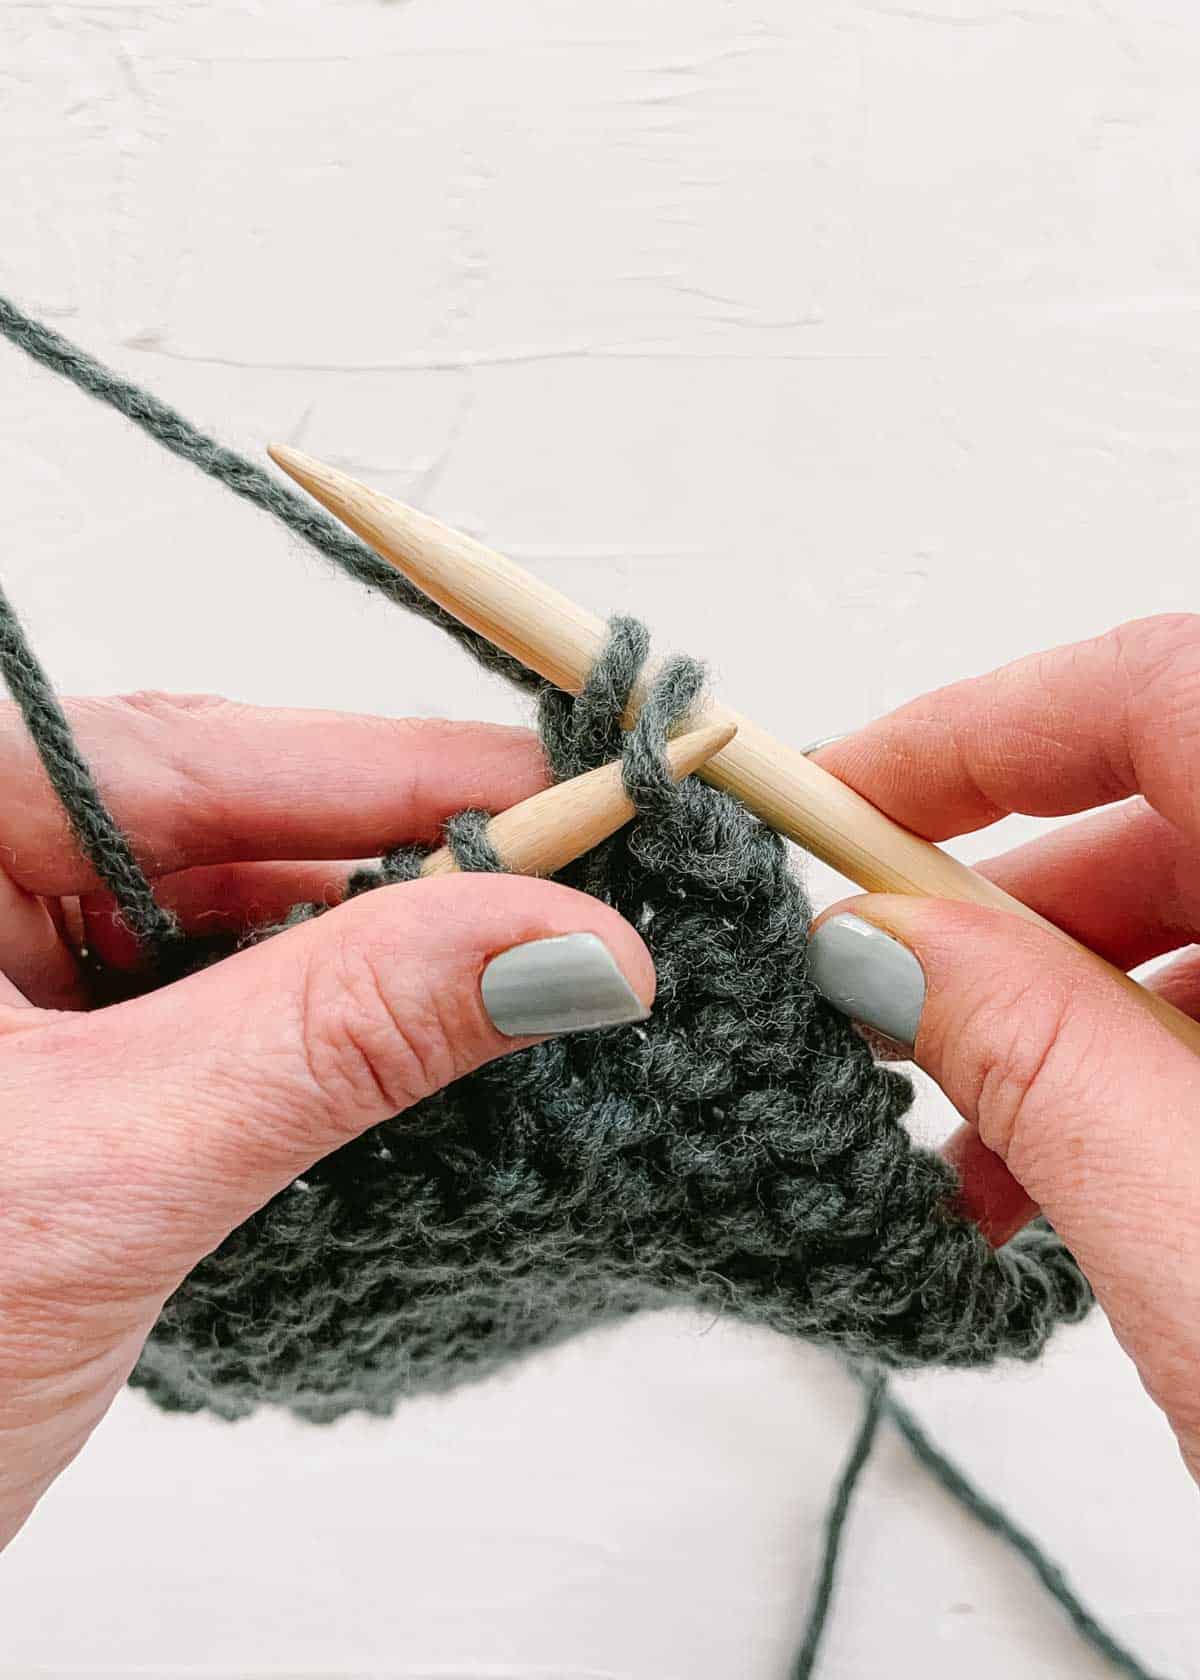
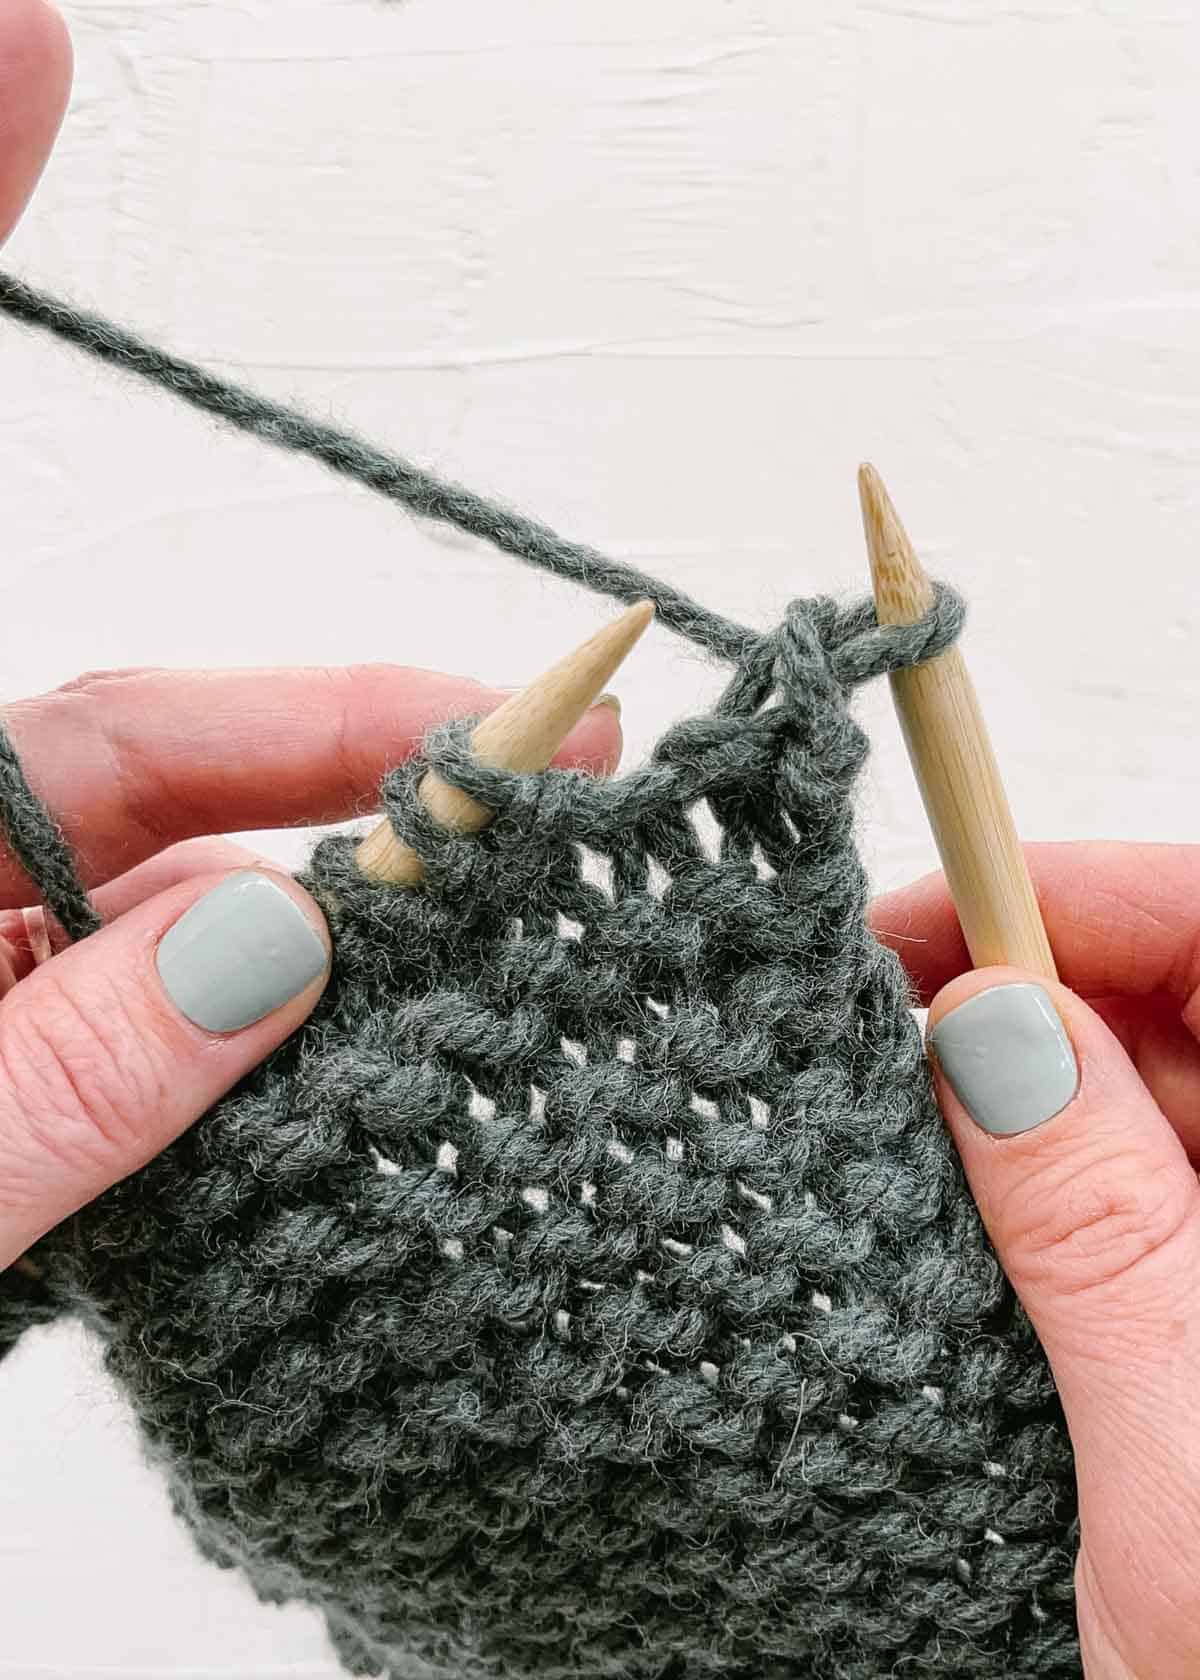
Step 3: Knit the Next Stitch and Repeat
Knit the next stitch so you have two stitches on the right needle again. Repeat Step 2 to bring the older stitch over the new one and drop it off the needle.
Continue in this manner so there are never more than two stitches on your needle.
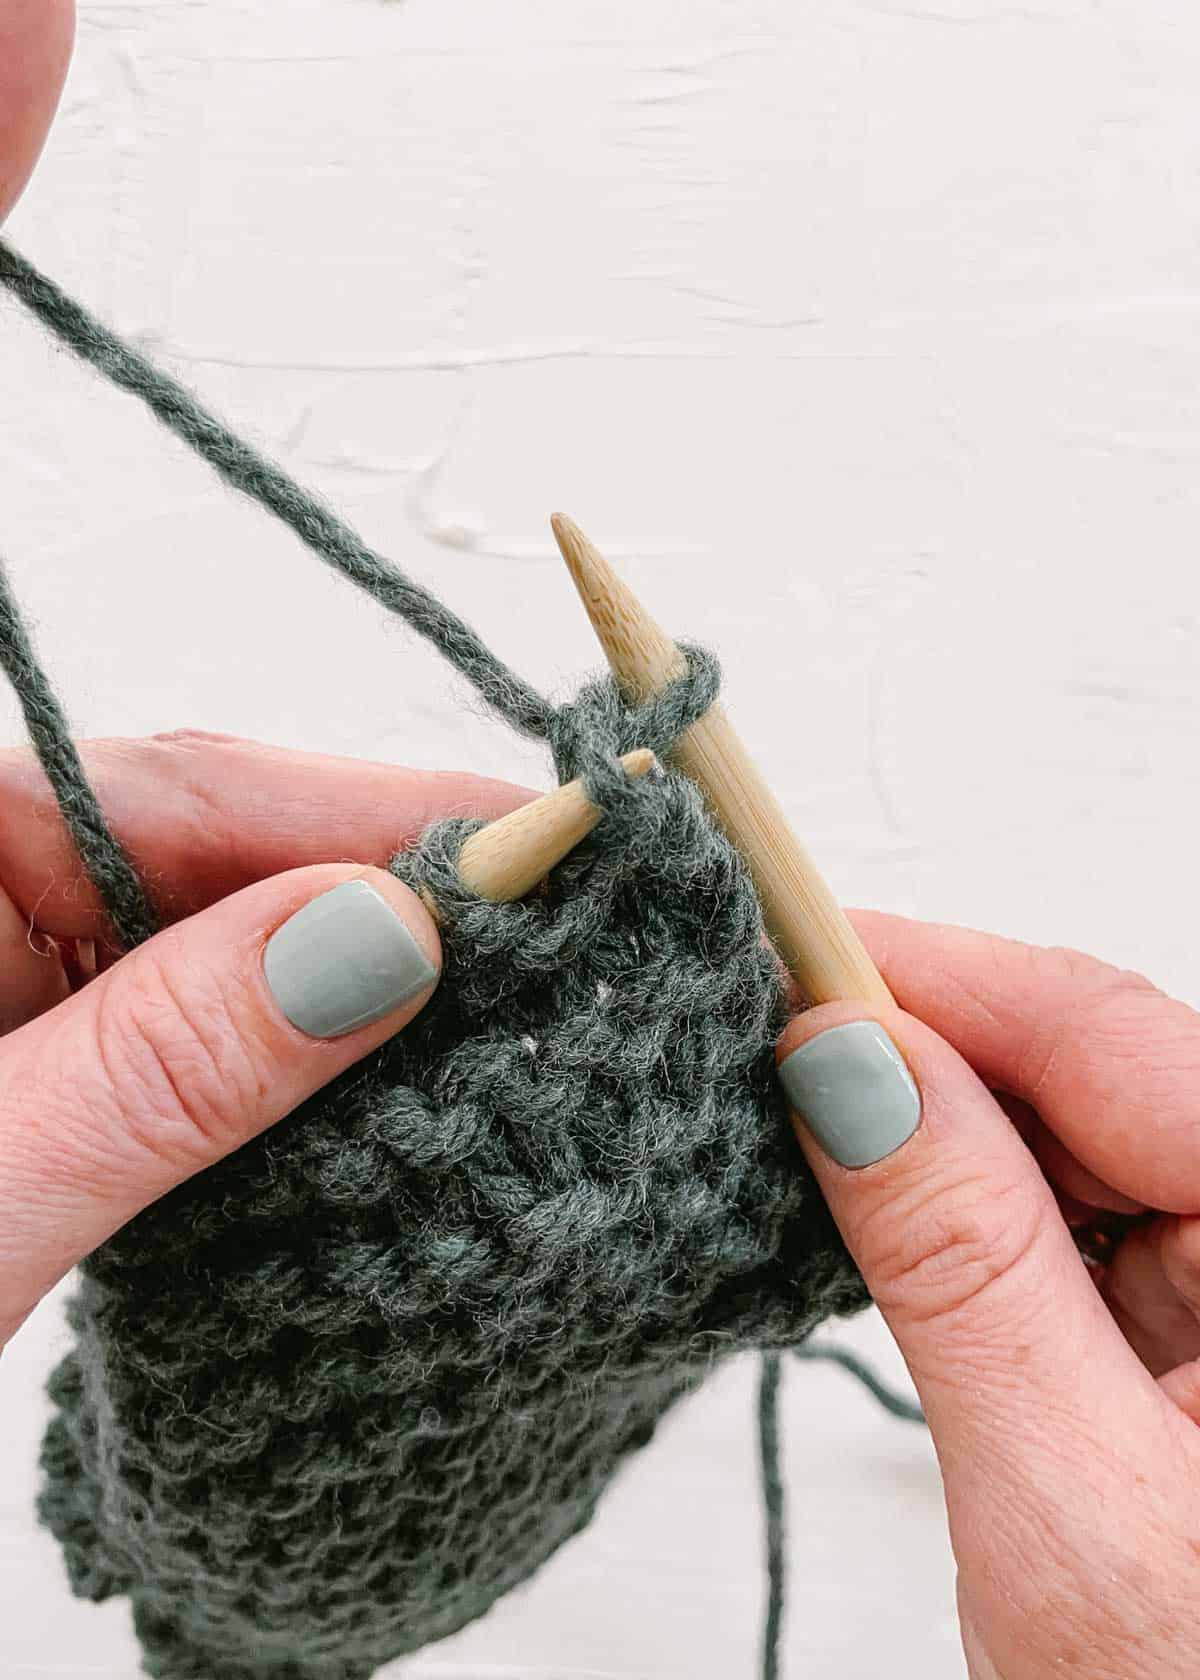
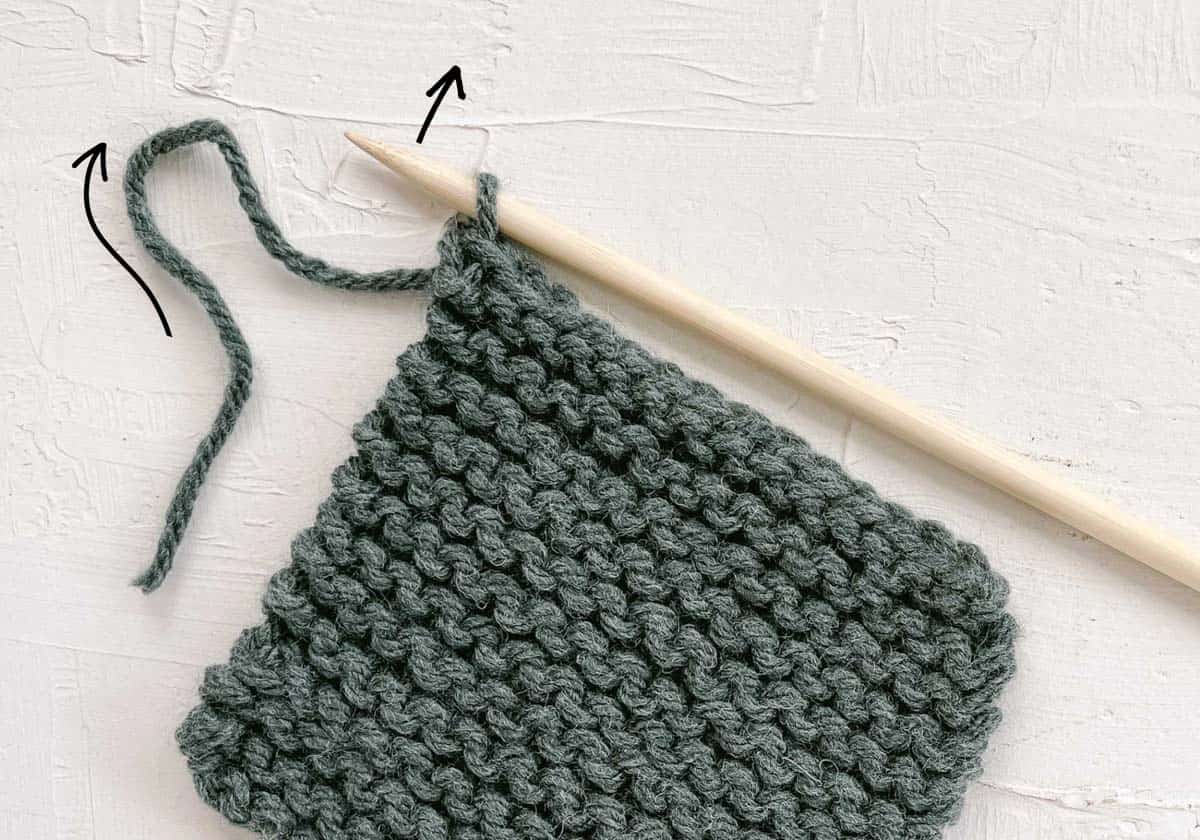
Once you have zero stitches on the left-hand needle, we will bind off the last stitch and finish off the project.
How to Cast Off the Last Stitch in Knitting
Because there are no stitches left, you must use the working yarn for the last cast-off stitch in knitting.
When left with one stitch on your right needle, cut the yarn so you have around eight inches attached to your work. Pull this tail through the final stitch and gently tighten it. Afterward, weave in the yarn tail.
Tip for a Neat Final Stitch
Stretched-out stitches at the side of the work is a common annoyance for knitters. Avoid a messy-looking final stitch with this handy trick:
- Bind off all but one stitch. You should have one stitch on each needle.
- Slip the stitch from the left needle to the right.
- Insert the left-hand needle into the left side of the loop underneath the slipped stitch, closest to the tip of the needle.
- Pick up this loop with the tip of the left needle and bring it up to place it on the right needle.
- Slide two loops from the right-hand needle to the left.
- Knit two together.
- Bind off one stitch and weave in the end as usual.

Different Types of Bind-Offs
The term ‘binding off’ encompasses many project-finishing techniques. The method you choose depends on a few factors:
- Are you binding off knitwise or purlwise?
- Are you knitting flat or in the round?
- Are you knitting every stitch or binding off following a distinct stitch pattern?
- How much stretchiness or structure does the edge of your item require?
Choosing the Right Bind-Off
How to bind off stitches in knitting depends on the unique requirements of your project. A more elastic bind-off is ideal for the stretchy edge of many wearable items, such as knit sweater necklines, beanie brims, and sleeve cuffs.
I recommend practicing a few different bind-off techniques to add to your repertoire. Here are three bind-off styles, examples of where to use them, and tips on variations.
| Bind-Off | Benefits | Example Items | Variations |
|---|---|---|---|
Basic Bind-Off | Allows for some stretch Quick and easy to learn Versatile | Add a subtle edge to a hat or sweater Create stretchy sock or mitten cuffs Finish off a stockinette stitch project | Suspended Bind-Off Sewn Bind-Off Tubular Bind-Off |
| Stretchy Bind-Off | Brings stretchiness Maintains consistency and prevents distortion in ribbed patterns | Comfortable and elastic waistbands Add flexibility to shawls which will be layered on top of other items | Jeny’s Surprisingly Stretchy Bind-Off Icelandic Bind-Off Russian Bind-Off |
| Picot Bind-Off | Elegant, decorative touch Appropriate in keeping edge for eyelet or lace patterns | Add elegant edging to shawls or dishcloths Create delicate baby items like hats and blankets | Double Picot Bind-Off Alternating Picot Bind-Off Scallop Picot Bind-Off |
Reading Cast-Off Instructions in Knitting Patterns
Many knitting patterns will simply write the words ‘bind off’ at the end of the instructions. You may also see “BO” used as an abbreviation.
If the pattern you are using mentions a specific bind-off method, try to use that. Otherwise, think about the properties you want for your edge: stretchy or sturdy? Decorative or hidden?
If you aren’t sure, the basic bind-off is suitable for many projects.
Common Mistakes to Avoid When Binding Off
Being aware of possible errors can help you spot problems before they happen and troubleshoot if they do. While it’s possible to undo and rework an unsalvagable bind-off, avoiding and identifying mistakes saves you time and stress.
Common problems when binding off are often connected to general issues with knitting styles, so it’s important to practice and refine your technique continually. Here are two frequent mistakes and how to solve them.
Binding Off Too Tightly
You can recognize a too-tight bind-off if the edge does not have any stretch or is narrower than the rest of the item. My first tip to avoid this is to be sure to use a cast-off method with a suitable amount of stretch for your project.
Even with the right approach, some bind-offs can become too tight if your general knitting tension is tight. Letting your stitches bunch up at the narrower, tapered end of the needle can cause extra tightness. Pulling too tightly can add extra tension to the bound-off stitches.
Generally, it is easier to tighten existing elements than to loosen them. While working, check in regularly with how tight your knitting is.
Pro Tip: If you struggle to bind off loosely, use a larger knitting needle in your right hand while you learn how to cast off stitches. This way, each stitch has more space and will be less likely to tighten up.
Dropping a Stitch
While binding off, it is important that you always have two stitches on your right needle: the one you have just knitted and the one to pull over and off. If you notice you have dropped a stitch, simply slip it back onto the appropriate needle and carry on as usual.
How can I fix a dropped stitch after I’ve finished binding off?
Fixing a dropped stitch after binding off requires patience and attention to detail. To recover a dropped stitch, you may need to unravel the bind-off and possibly some knitting very carefully.
Before you do this, assess the situation to understand where the dropped stitch is and how many rows you’ll need to rework.
Pro Tip: When I notice a dropped stitch, my first step is to immediately place a stitch marker through it so that it can’t unravel further. Then I can make a plan to fix it.
Here’s how to fix a dropped stitch in the cast-off edge:
1. Locate the dropped stitch.
2. Use a crochet hook or tapestry needle to pick up the dropped stitch.
3. Scoop up each horizontal bar above the dropped stitch one by one.
4. Secure the final stitch on the wrong side of the work. You can use a spare piece of yarn and a tapestry needle to tack the stitch to its already-cast-off neighbor stitches.
5. Finally, weave this end in as usual.
Frequently Asked Questions
The yarn tail left after binding off should be woven into the work. Thread this loose tail through a tapestry needle and insert it through a stitch on the wrong side of your knitting.
Weave back and forth, following the path of stitches. After a short distance, change the direction of the weaving to ensure the end is tucked in securely. When finished, simply the excess yarn so it’s flush with the fabric.
If you still have yarn left from your skein, try some scrap-busting crochet projects.
Bind-offs and borders serve different purposes in knitting projects. Casting off is the process of securing stitches and creating a stable edge at the end of the project. It’s always necessary. On the other hand, borders enhance the overall design, provide structure, or prevent curling. They are not always necessary.
You may need to cast off first then work the border separately. Other borders can be achieved without binding off first. In this case, you’re often working additional rows of knitting in a new stitch pattern after finishing the main body. Adding a crochet border after binding off the knit stitches can also be an effective and beautiful way to make a project larger or more elaborate.
If you are following a knitting pattern, this will instruct you when to bind off. For other projects, such as scarves and blankets, it’s time to cast off when the item has reached your desired length.
When working with a repeating sequence of rows, remember to complete a full repeat of the pattern before you bind off.